Weekly_Assignments :
- read a microcontroller data sheet
- program your board to do something, with as many different programming languages and programming environments as possible
#####What I needed (download/install)
#####What I have read:
- Know terms
- easy workflow
- Your ISP is working correctly?
- Prepare isp cable
- introduction/examples to C
- embedded programming
- installing arduino support attiny44
C+ Programming
###prepare .c and .make files In order to be compiled every program in C + needs a File.c (where you can find the (code) program information) and a File.Make (a text file where there are the necessary information for building the software from its source files)
- to avoid problems I preferred to put them in the same folder

led.c file: In the first test I used a easy file called led.c to understand the correct operation of my “button+led” board.

I prepared this easy led.c file where I understood how to enable the output on pin and how to turns the led on.
// LED
#include <avr/io.h>
#include <util/delay.h>


int main()
{
	//SETUP
	//LED is PB2


	DDRB = _BV(PB2); //Enable output on the LED pin
	PORTB = _BV(PB2); //Turns LED on

}
led.make file:
I used this file and I only have modified the first line: PROJECT=YOURFILENAME.echo
I reused this file many times in the future for create other .make file only changing the first line!
PROJECT=led.echo
SOURCES=$(PROJECT).c
MMCU=attiny44
F_CPU = 20000000

CFLAGS=-mmcu=$(MMCU) -Wall -Os -DF_CPU=$(F_CPU)

$(PROJECT).hex: $(PROJECT).out
	avr-objcopy -O ihex $(PROJECT).out $(PROJECT).c.hex;\
	avr-size --mcu=$(MMCU) --format=avr $(PROJECT).out

$(PROJECT).out: $(SOURCES)
	avr-gcc $(CFLAGS) -I./ -o $(PROJECT).out $(SOURCES)

program-bsd: $(PROJECT).hex
	avrdude -p t44 -c bsd -U flash:w:$(PROJECT).c.hex

program-dasa: $(PROJECT).hex
	avrdude -p t44 -P /dev/ttyUSB0 -c dasa -U flash:w:$(PROJECT).c.hex

program-avrisp2: $(PROJECT).hex
	avrdude -p t44 -P usb -c avrisp2 -U flash:w:$(PROJECT).c.hex

program-avrisp2-fuses: $(PROJECT).hex
	avrdude -p t44 -P usb -c avrisp2 -U lfuse:w:0x5E:m

program-usbtiny: $(PROJECT).hex
	avrdude -p t44 -P usb -c usbtiny -U flash:w:$(PROJECT).c.hex

program-usbtiny-fuses: $(PROJECT).hex
	avrdude -p t44 -P usb -c usbtiny -U lfuse:w:0x5E:m

program-dragon: $(PROJECT).hex
	avrdude -p t44 -P usb -c dragon_isp -U flash:w:$(PROJECT).c.hex
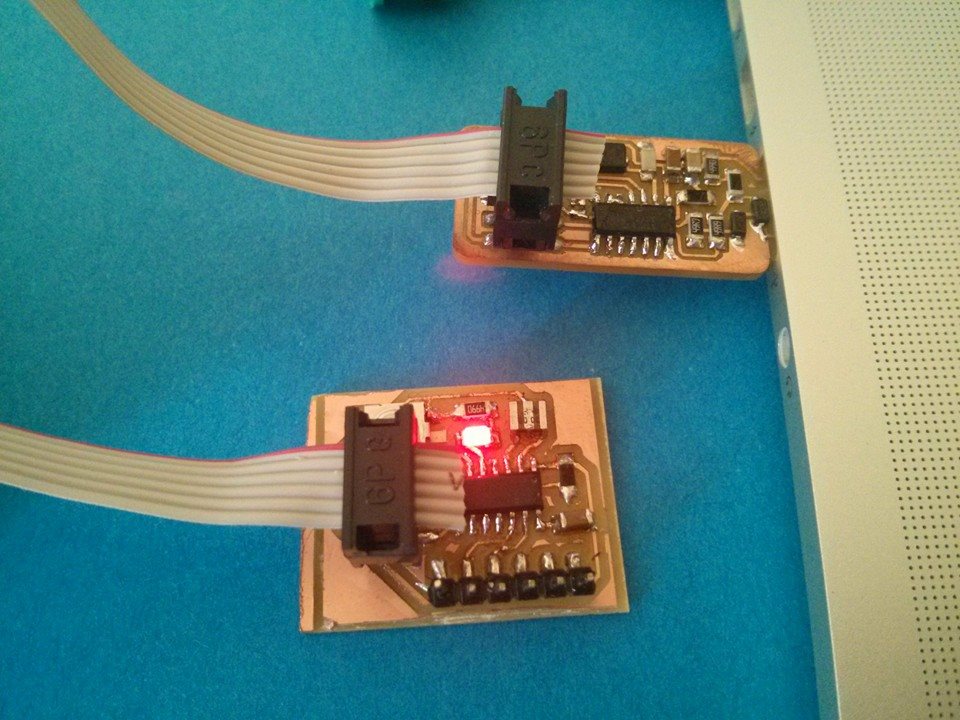
###workflow for programming button+led board: connect USBtiny to computer and Usbtiny by isp cable to Led+button board
#####Terminal (osx):
- make -f led.make //This transfers the .c instructions into bit information
- make -f led.make program_usbtiny_fuses //program the FabISP fuses
- make -f led.make program_usbtiny //to program the .c instructions onto the board.
result:

##going forward.. I also tried to make another code in c:
- fade led - Fade_C - SUCCESS!
- only blink on press button - blink - SUCCESS!
- blink x time on press button - irina - SUCCESS!
- fade led only on press button - button_fade - FAIL!
Arduino IDE Programming
After installing arduino support attiny44
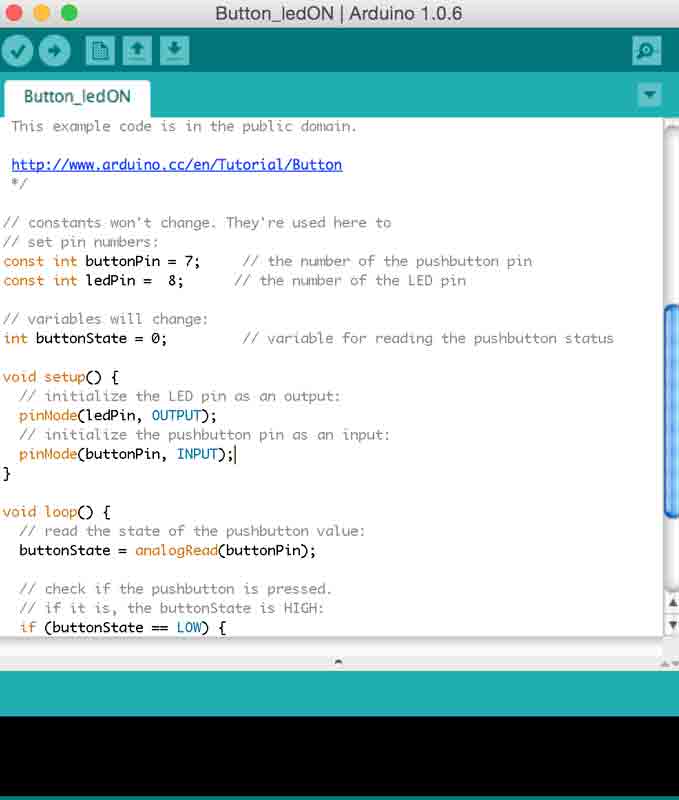
I moodified the example code in File>examples>digital>button
copied this code in arduino ide:

const int buttonPin = 7;     // the number of the pushbutton pin
const int ledPin =  8;      // the number of the LED pin

// variables will change:
int buttonState = 0;         // variable for reading the pushbutton status

void setup() {
  // initialize the LED pin as an output:
  pinMode(ledPin, OUTPUT);
  // initialize the pushbutton pin as an input:
  pinMode(buttonPin, INPUT);
}

void loop() {
  // read the state of the pushbutton value:
  buttonState = analogRead(buttonPin);

  // check if the pushbutton is pressed.
  // if it is, the buttonState is HIGH:
  if (buttonState == LOW) {
    // turn LED on:
    digitalWrite(ledPin, HIGH);
  }
  else {
    // turn LED off:
    digitalWrite(ledPin, LOW);
  }
}
and press Upload … !
##going forward..source file:
I also try to make another code :
- Led ON by press button - Button_ledon - SUCCESS!
- LED - led - SUCCESS!
- Blink led - Blink - SUCCESS!
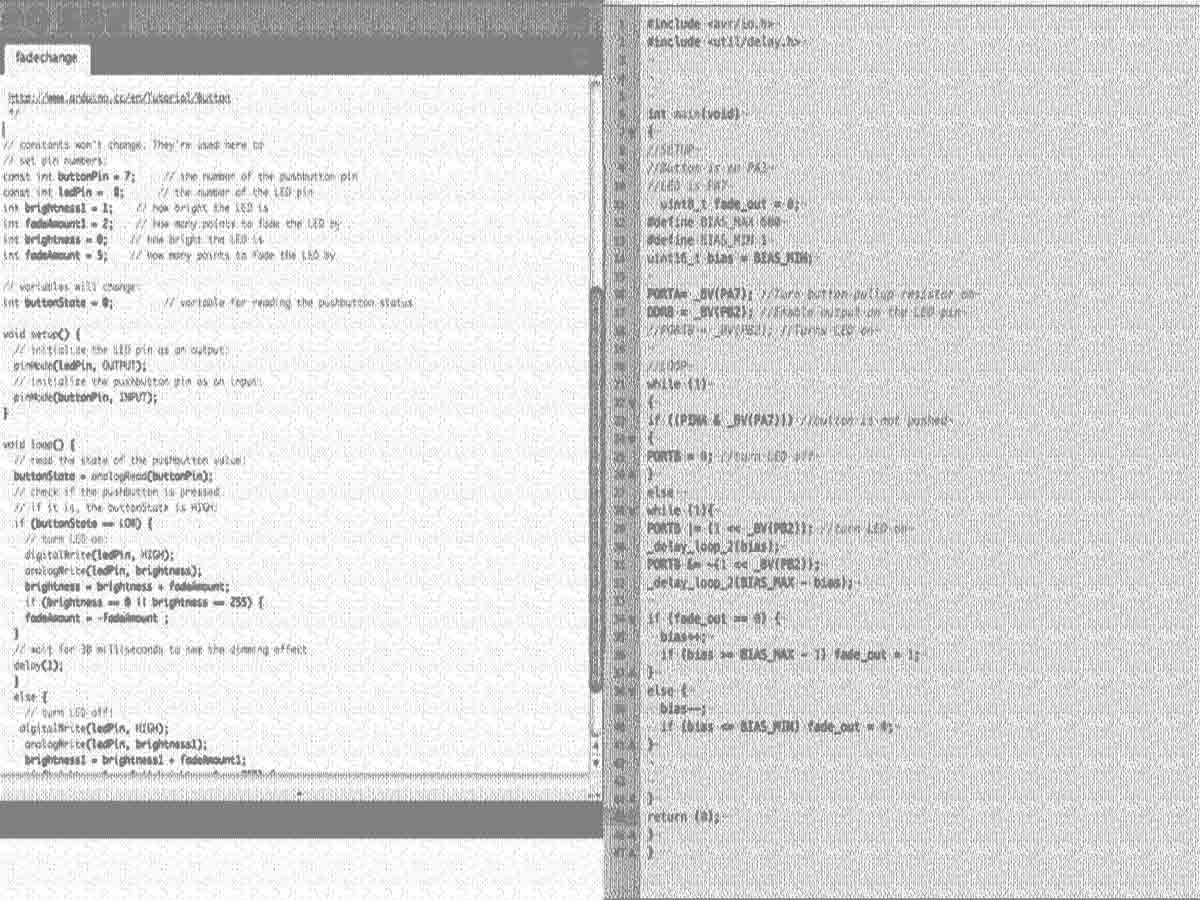
- Fade change on press button - fadechange - SUCCESS!
#Conclusion
I’m really a newbie in C programming! In the past I have tried some code .. I think about 15 y ago… Now I’m trying to start differently, I start from a real Zero-C-programming level, the main difficulties are finding the port (you have to read datasheet to understand where your pin are called and how to modify the input output) certaintly I want to go deeper in C programming… I want try to C program my TwisterCube, But I think is very complicated to start with ! I will see in the next weeks once all the electronics components have arrived.

