
Weekly_Assignments :
- design and make a 3D mold (~ft2), and produce a fiber composite part in it
#####Useful links:
#####Materials
-
epoxy resin
-
3x Cotton (280x160mm) (one old t-shirt)
-
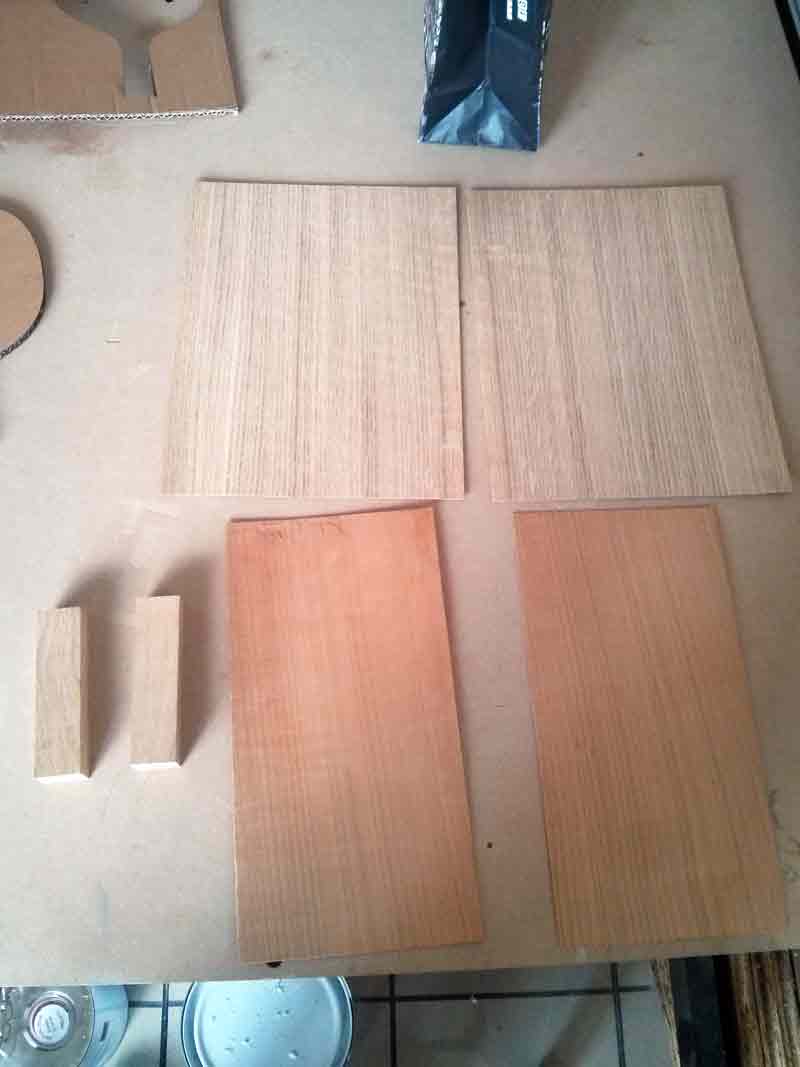
2x Cherries sheet (280x160mm)
-
2x Teak sheet (280x160mm)
-
2x pieces of wood (9x35x100)
#####Machine
-
Lasercut
-
Roland SRM-40
#Project: ping pong paddle
introduction
Spring being in the air and hot weather arriving, I wanted to live again my long and hot hours spent playing tennis table in the very same room of the newborn FabLab Contea I run. I started looking for all the infos needed to build a tennis table paddle as professional as possible. After investigating on the patents (almost all of them has expired) to check the correct measurements, I projected my own racket trying to suit the international rules (at least 80% wooden composition). The composit project I am going to create will be cotton, teak, cherries and epoxy resin.
Design
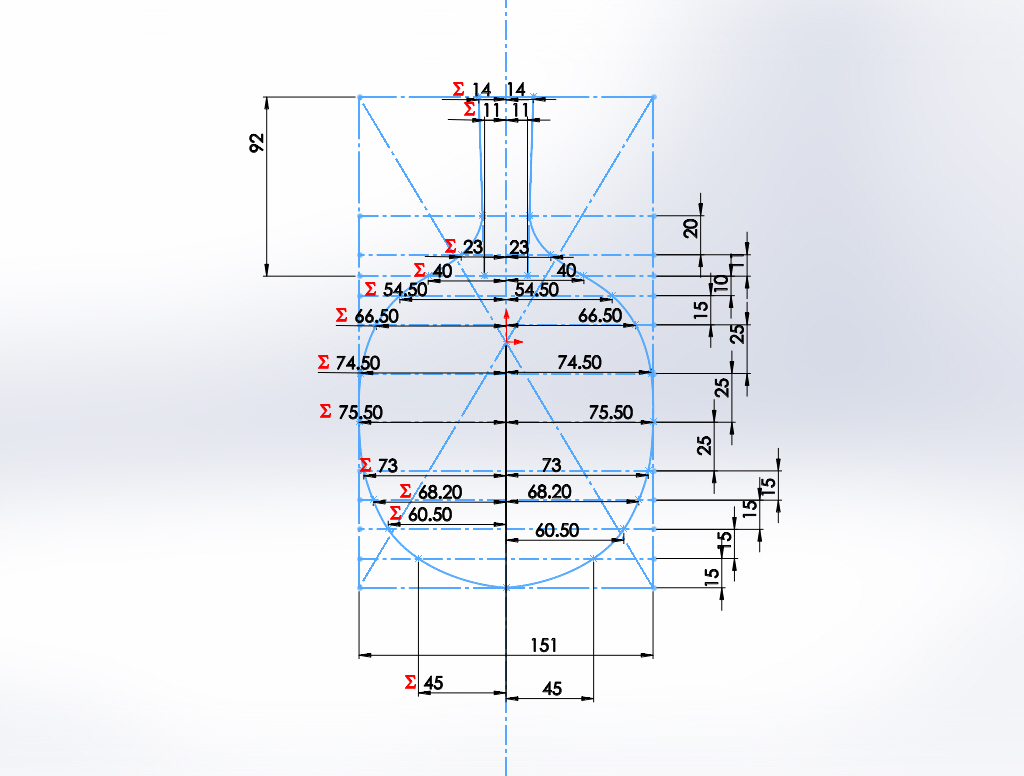
I started with these measurements specially to understand the final thickness of the paddle
Test dimension
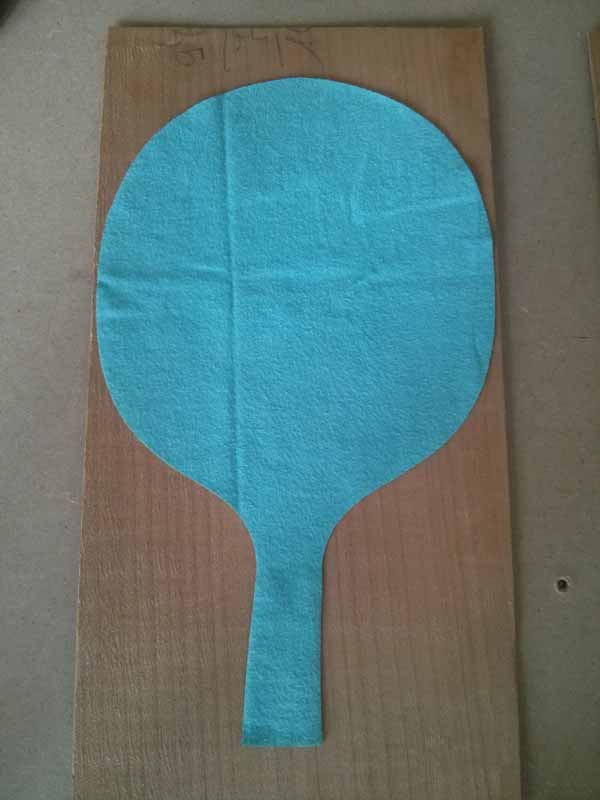
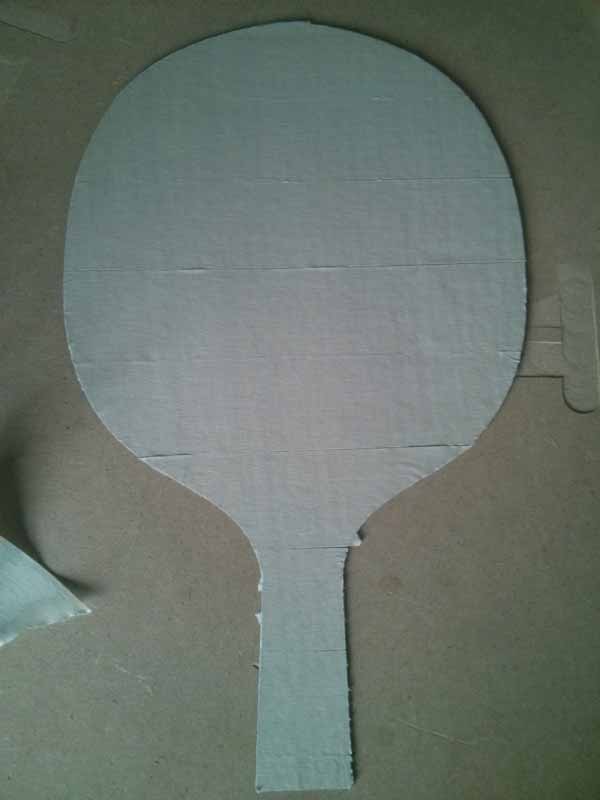
Before proceeding with the laser cutting of the components, I wanted to create a sample. So I lasercut a paddle for test the handle and understand if I have enough material (wood sheet and block for handle)
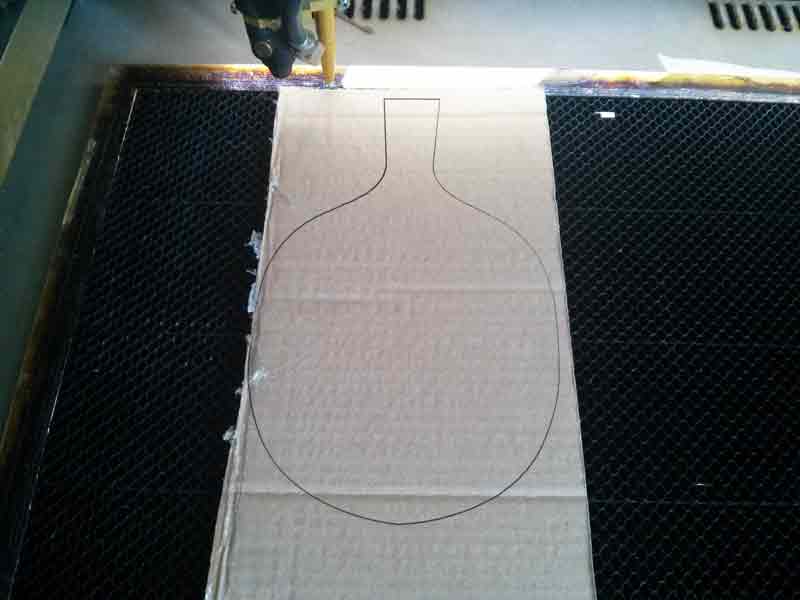
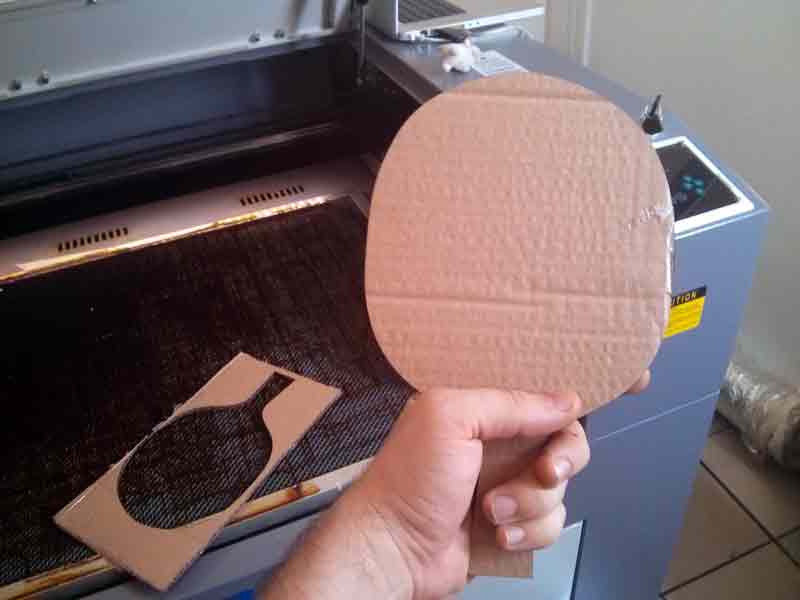
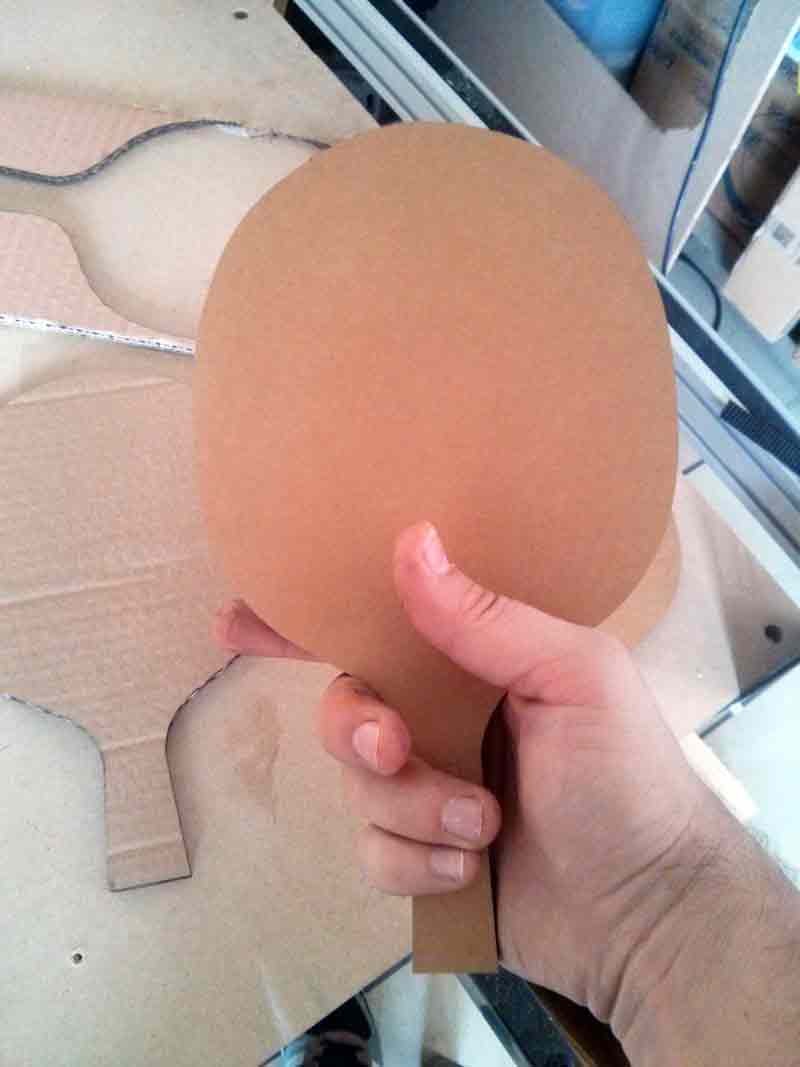

to better realize what the best measurements for the handle are, I made some trials with a laser cut paper board
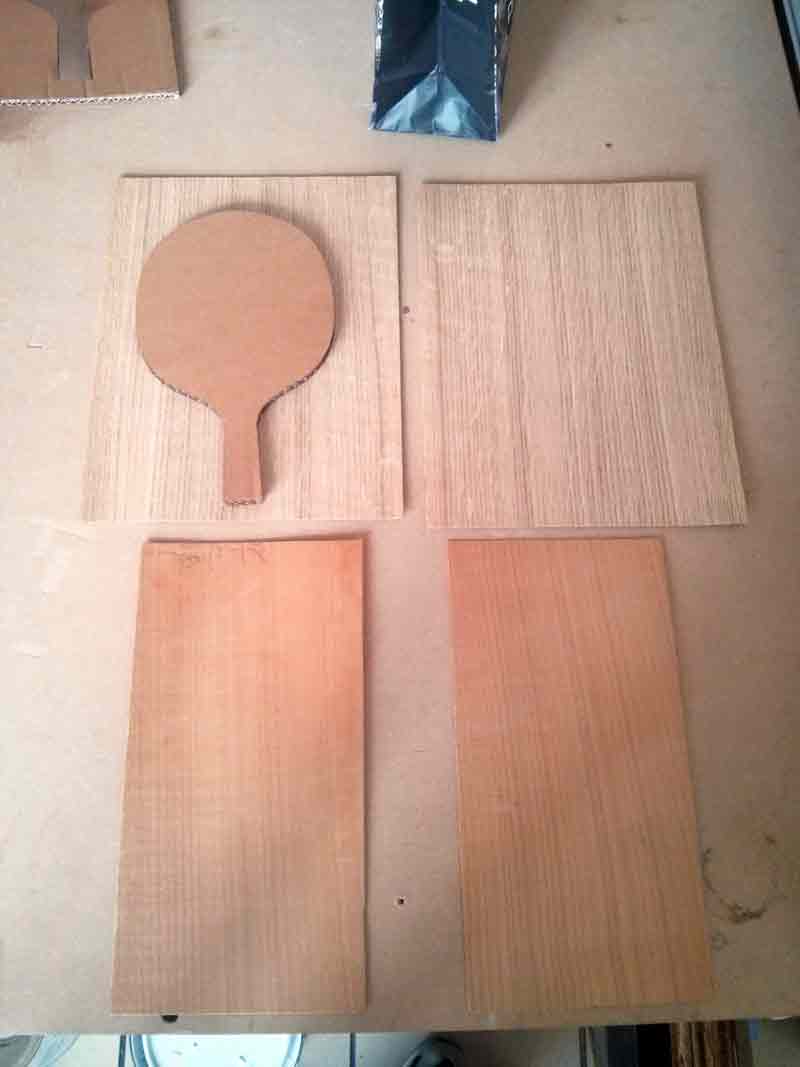
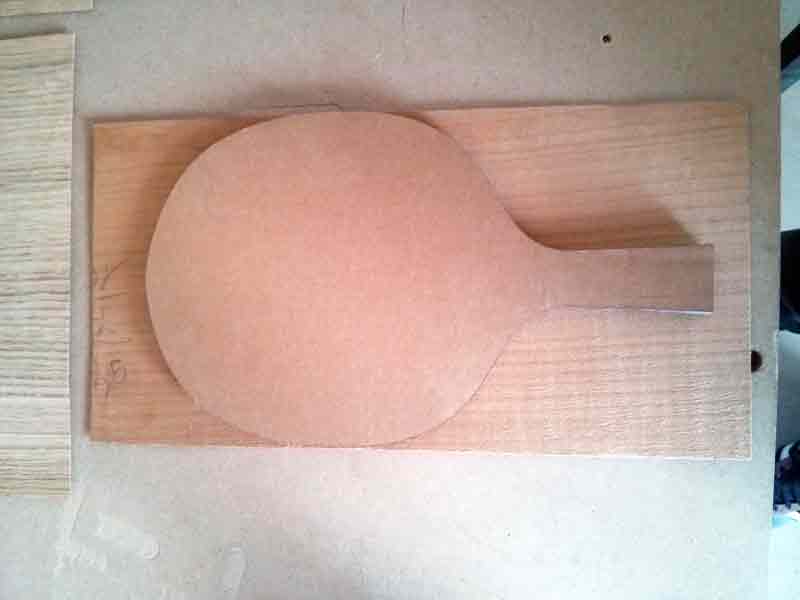
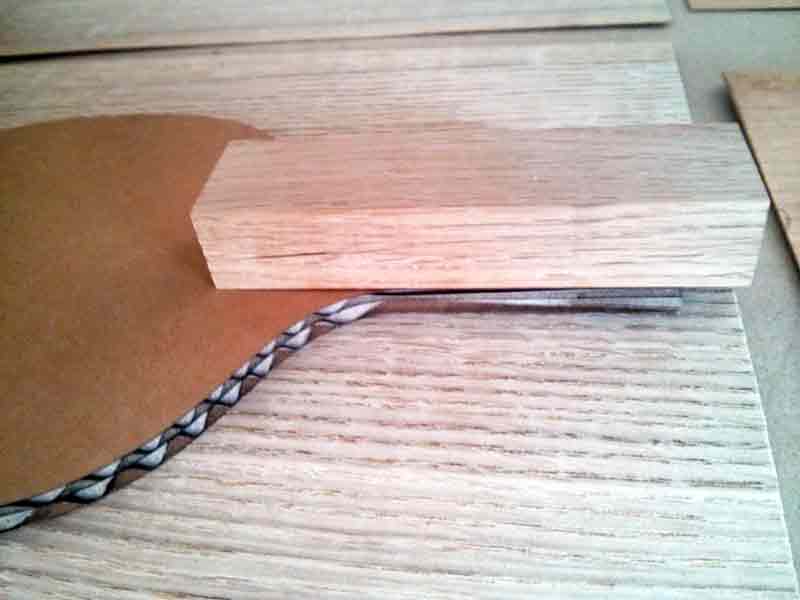
once found the ideal paddle, I quickly checked if the wood I had was enough to complete the assignment
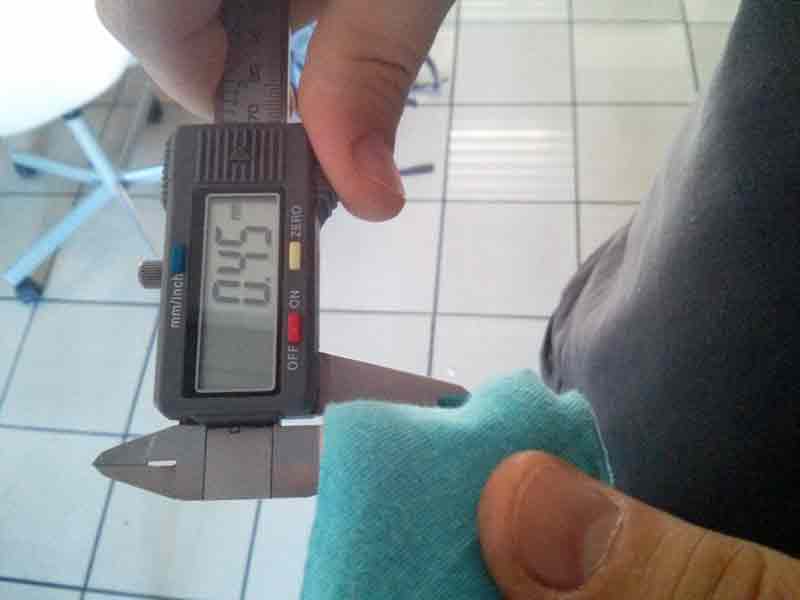
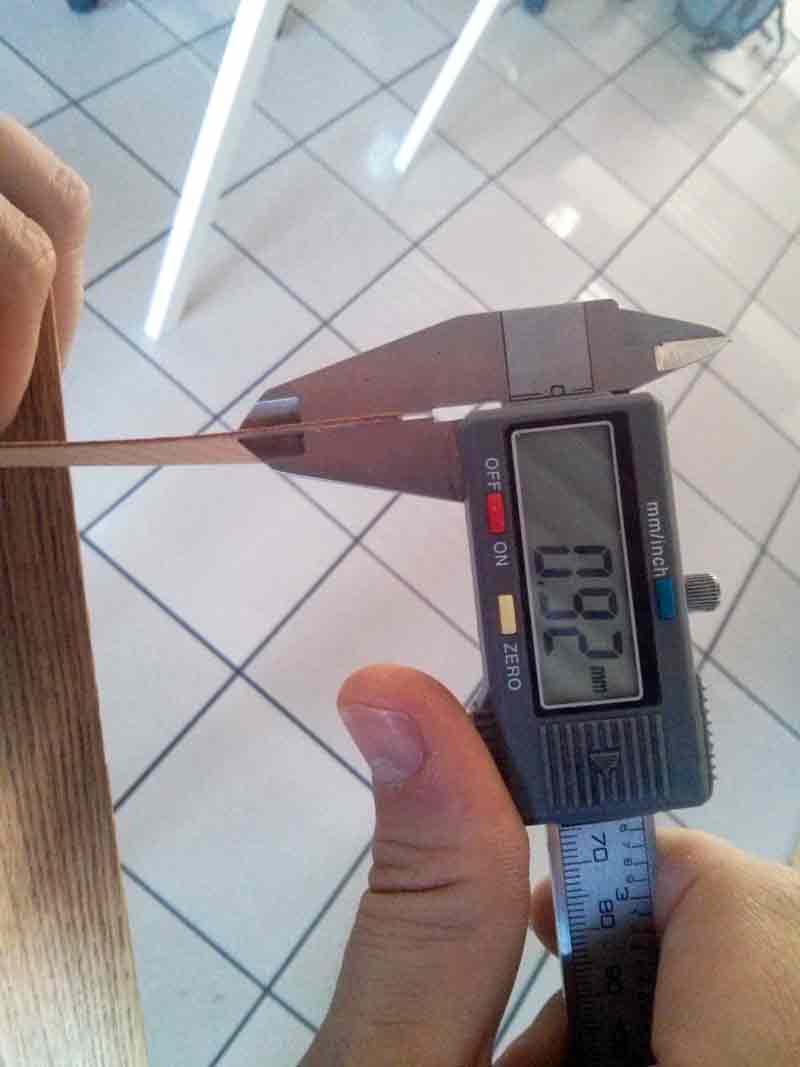
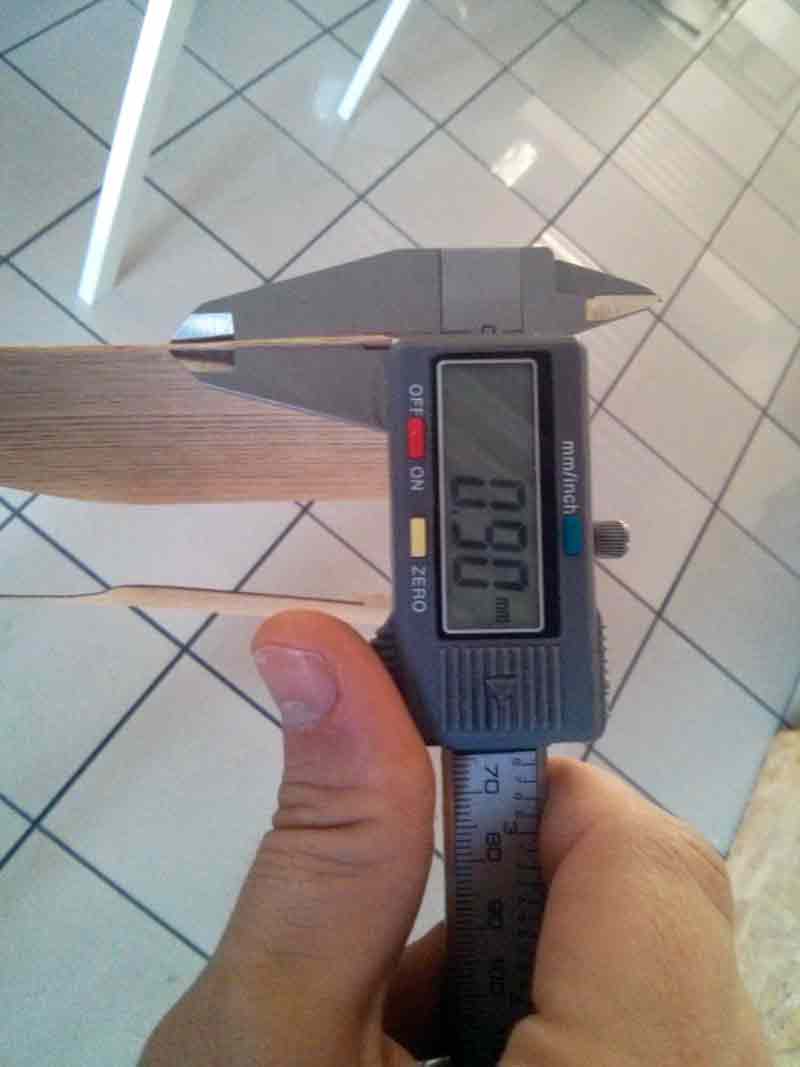
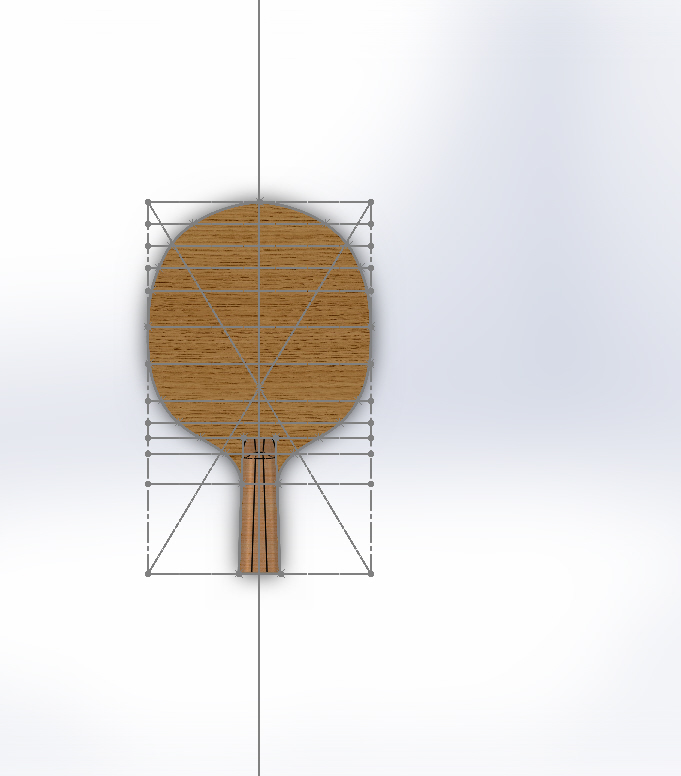
I checked again all the thickness of the different materials to verify the presence of any aberration with the rendering on SolidWorks
Laser parts
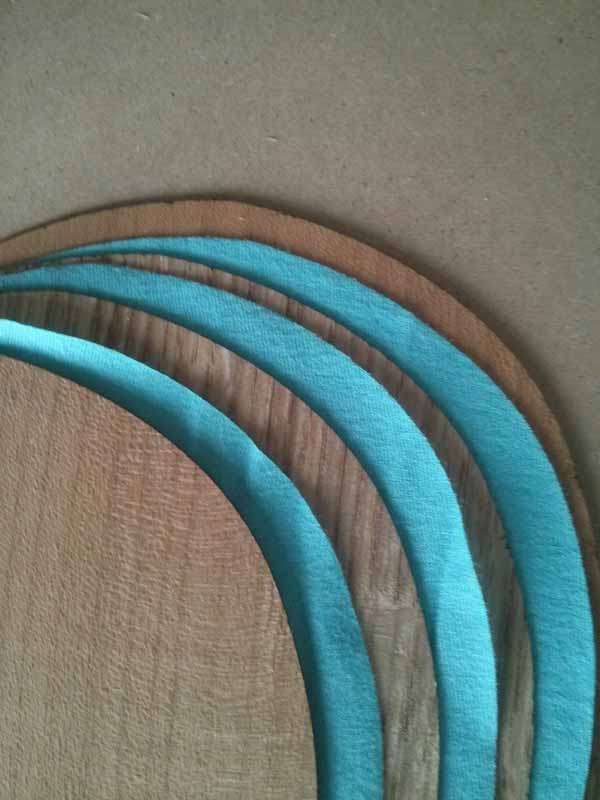
Since the layers forming my composit material project are very thin, I decided to cut them with the laser. For me this is a new eperience, since I had never tried cutting fibers like cotton with laser cut.

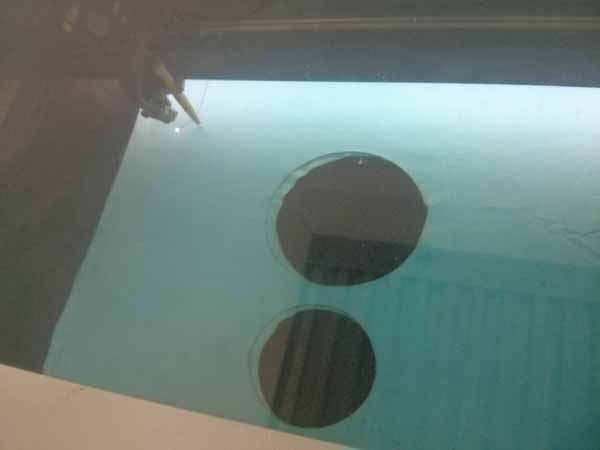
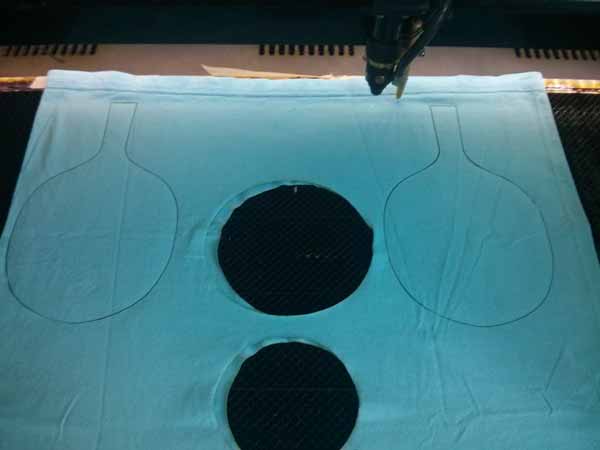
I tried with different settings, and the best one for cutting the cotton t-shirt came out to be 40% power and 100% speed. With these settings you are able to easily cut the double layered cotton without too many burns
on the other hand, for the thin wooden layers I used less aggressive settings (60% power and 90% speed
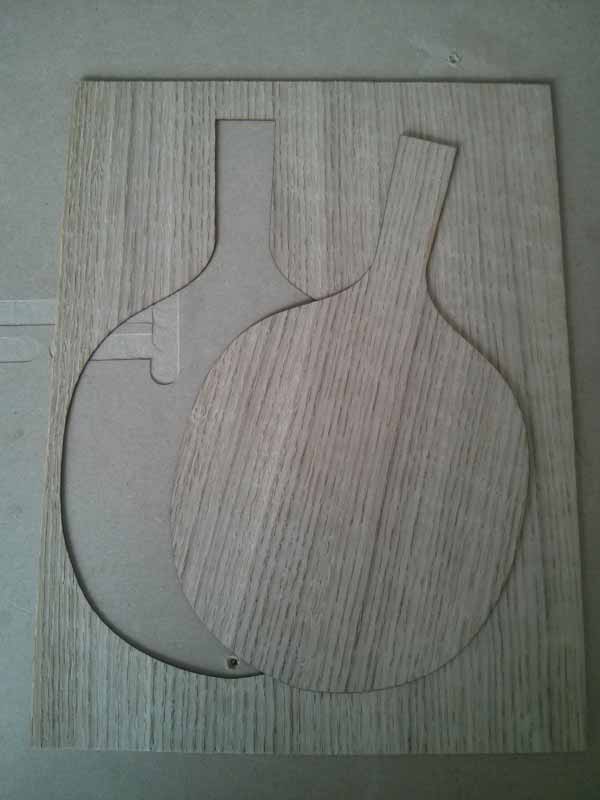
I decided to cut the wood following the parallel lines of the handle, in order to increase the resistance, moreover the resin and the cotton should help increasing the resistance in the direction perpendicular to the handle…
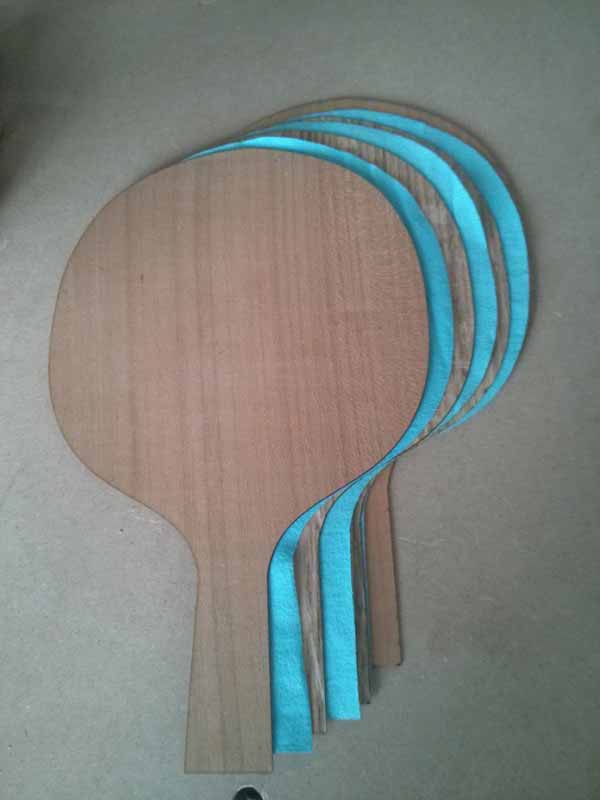
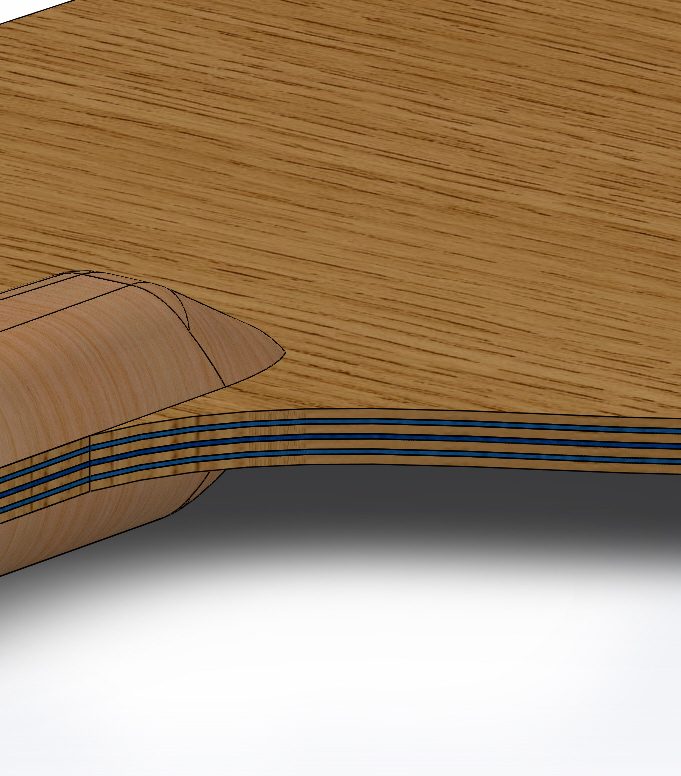
The cut result is satisfying, so I decide to put the teak (more porous at touching it) in the middle and the cherry wood externally.
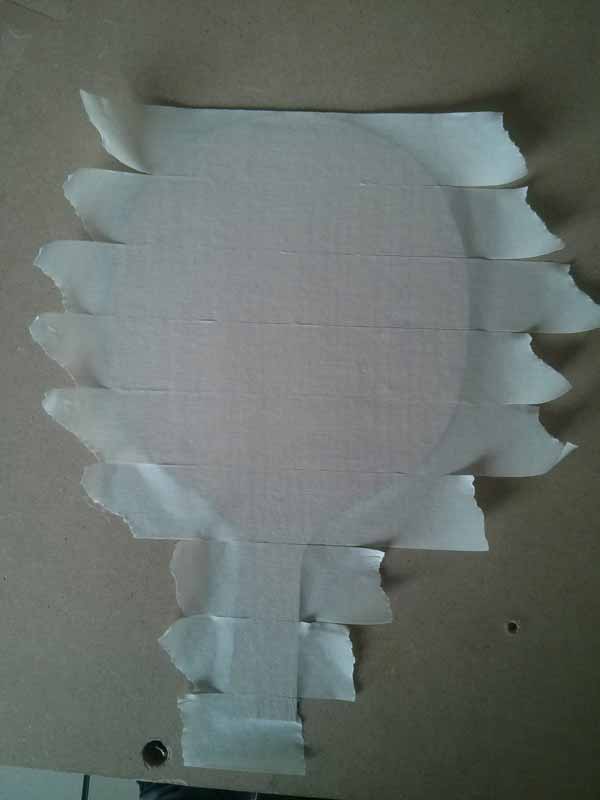
To avoid a resin stash on the external faces, I used some paper tape.
Prepare Composite
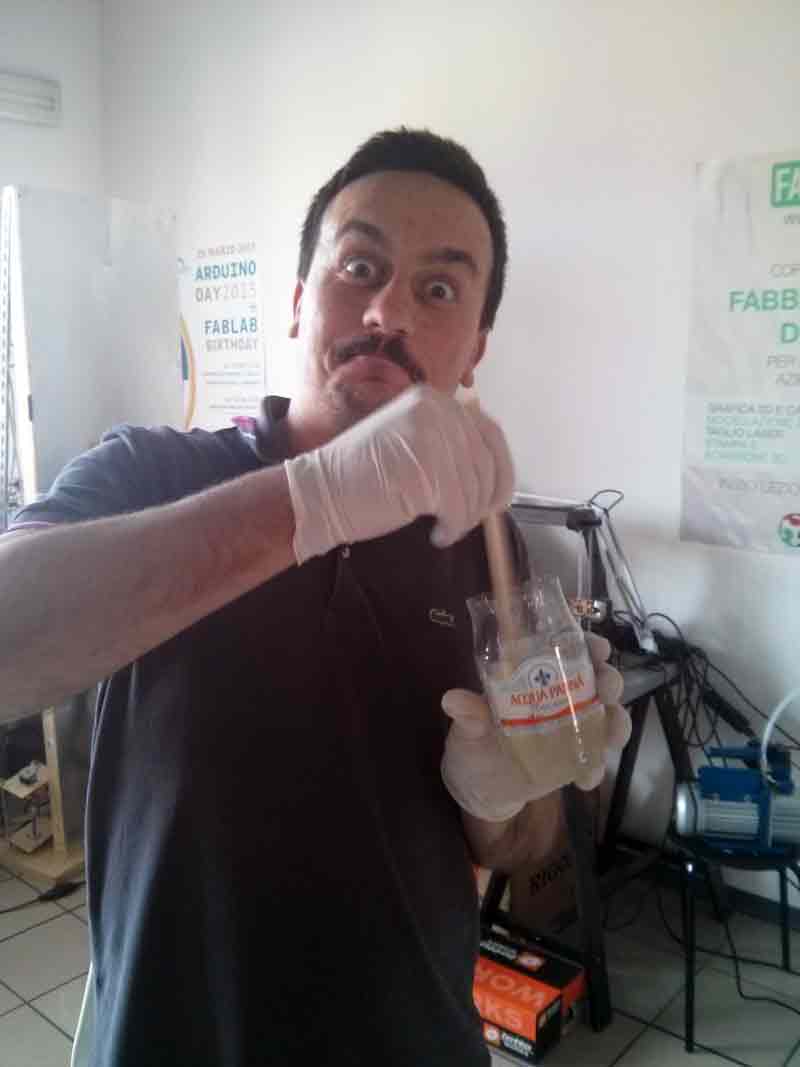
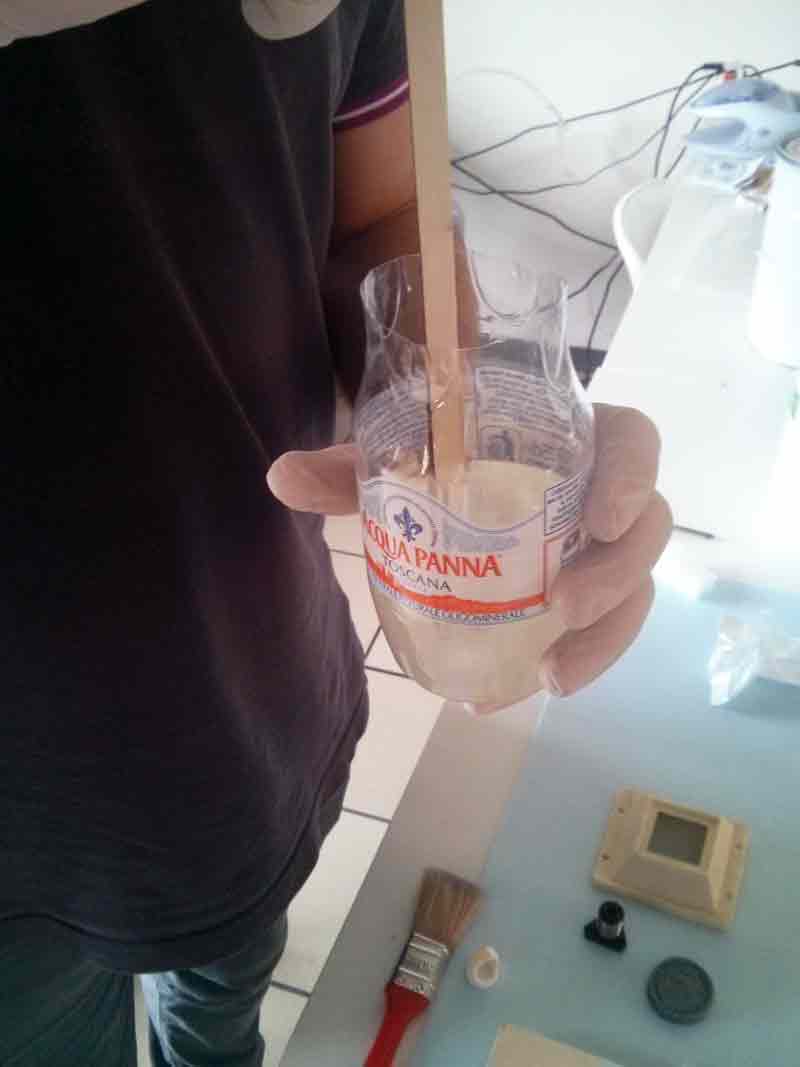
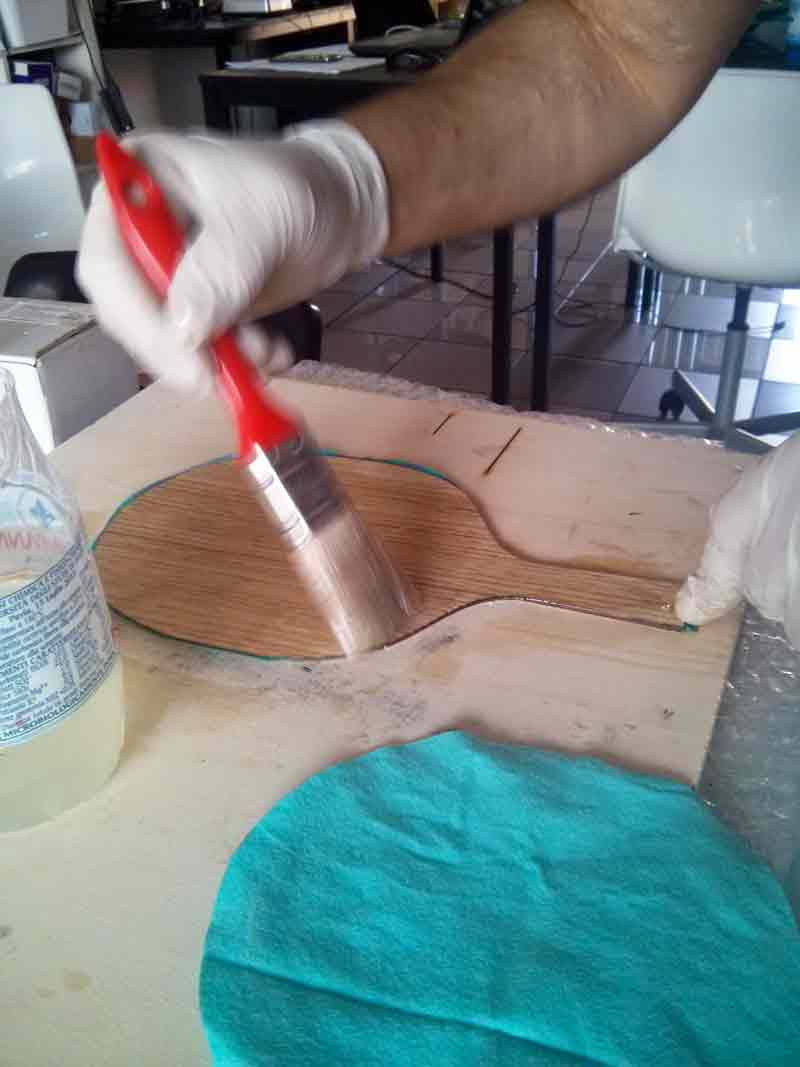
Following the proportions 100 : 48, you blend the resin for 2 minutes. You can than start the work with the brush.
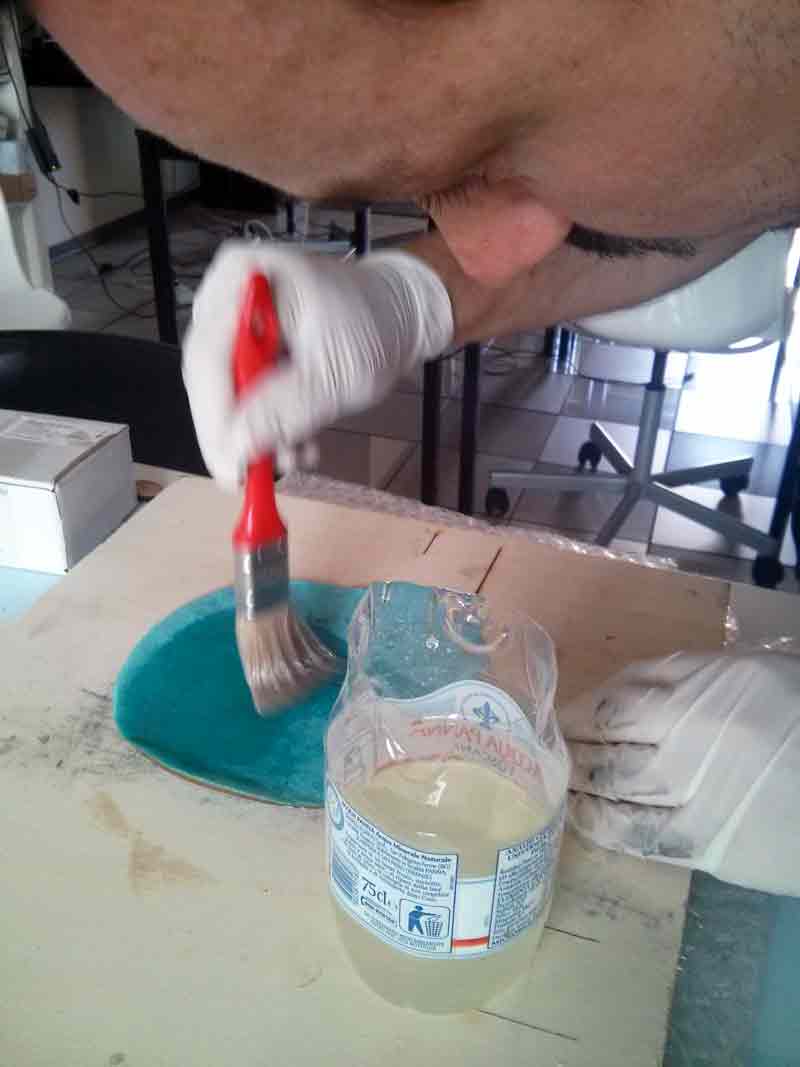
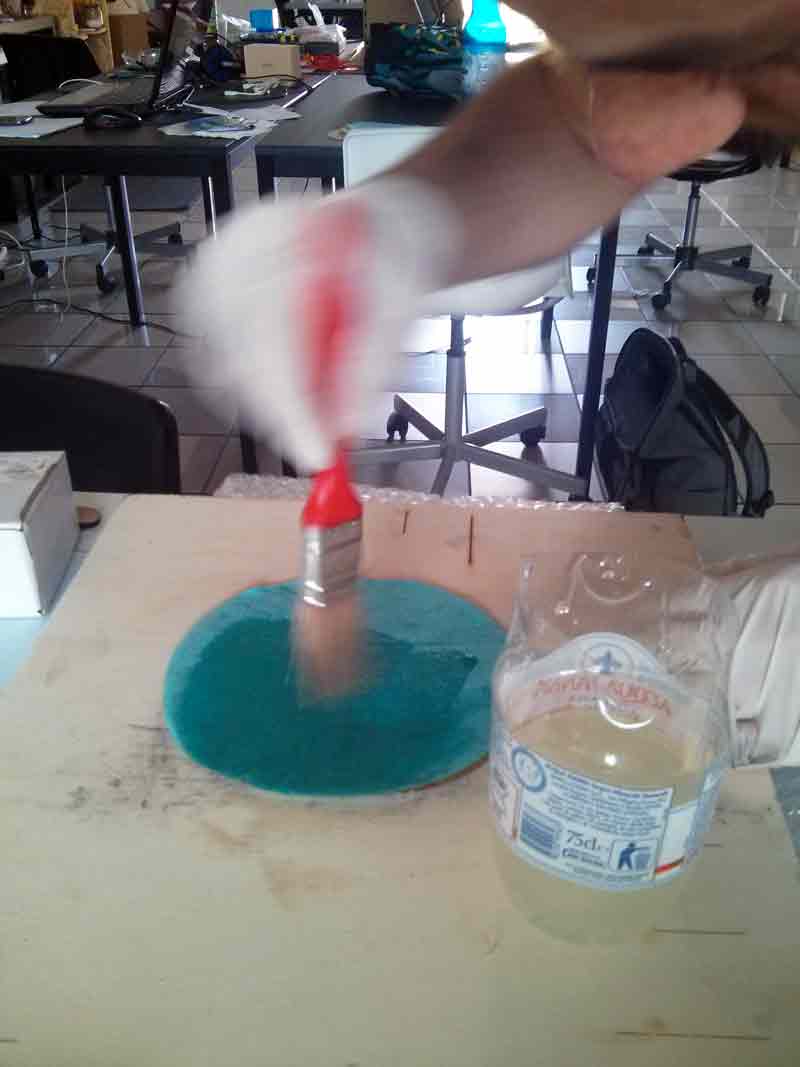
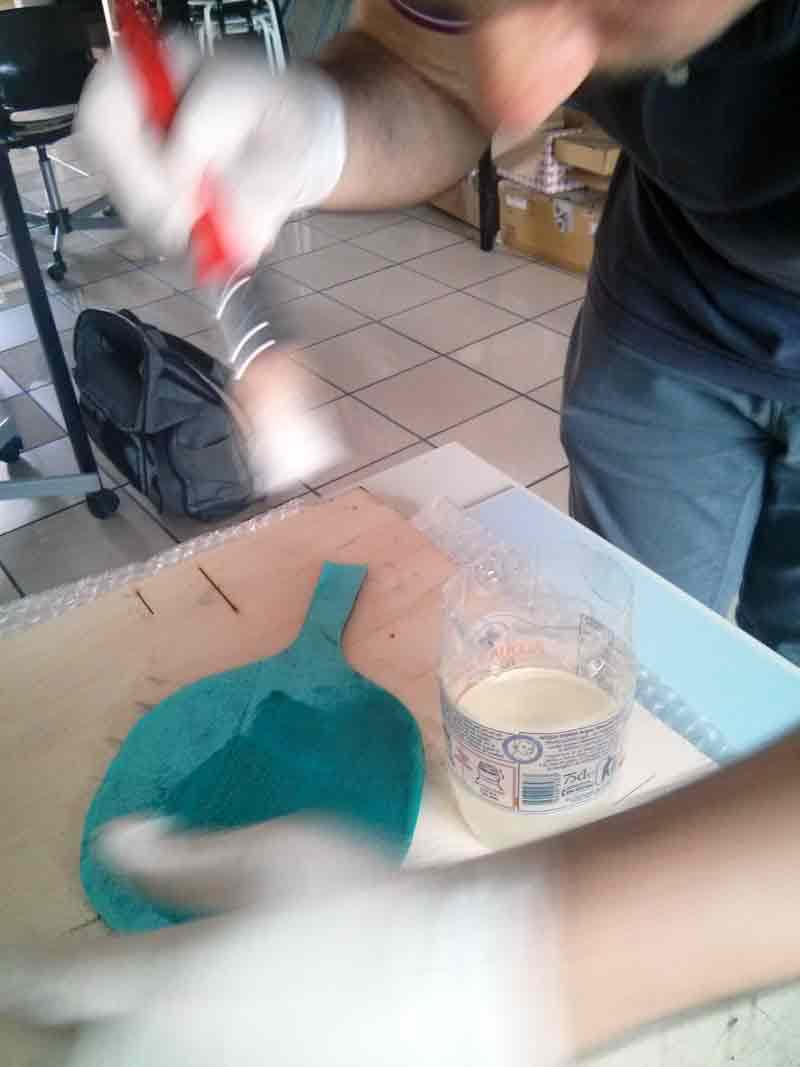
Every single layer is brushed with resin, pointing special attention on the cotton, trying to uniform the resin on the surface as much as possible.
Vacums and pressure
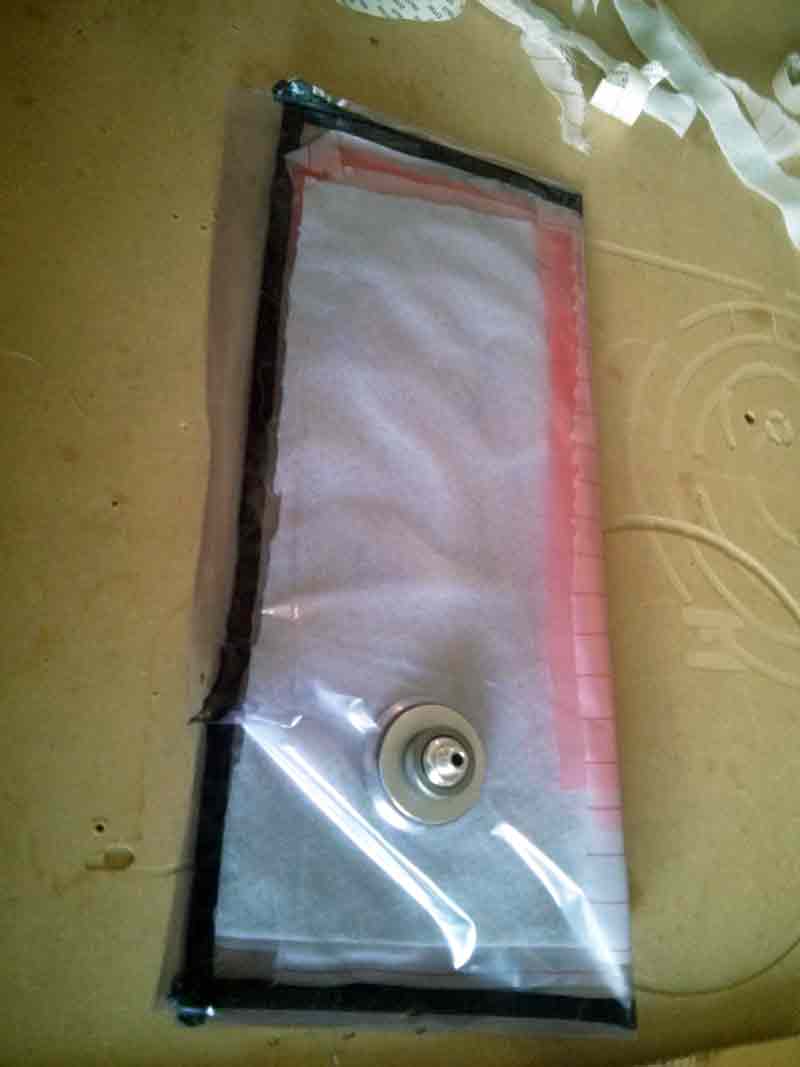
You prepare the bag for the vacuum sealing that will let the exceeding resin flow towards the external part of the paddle
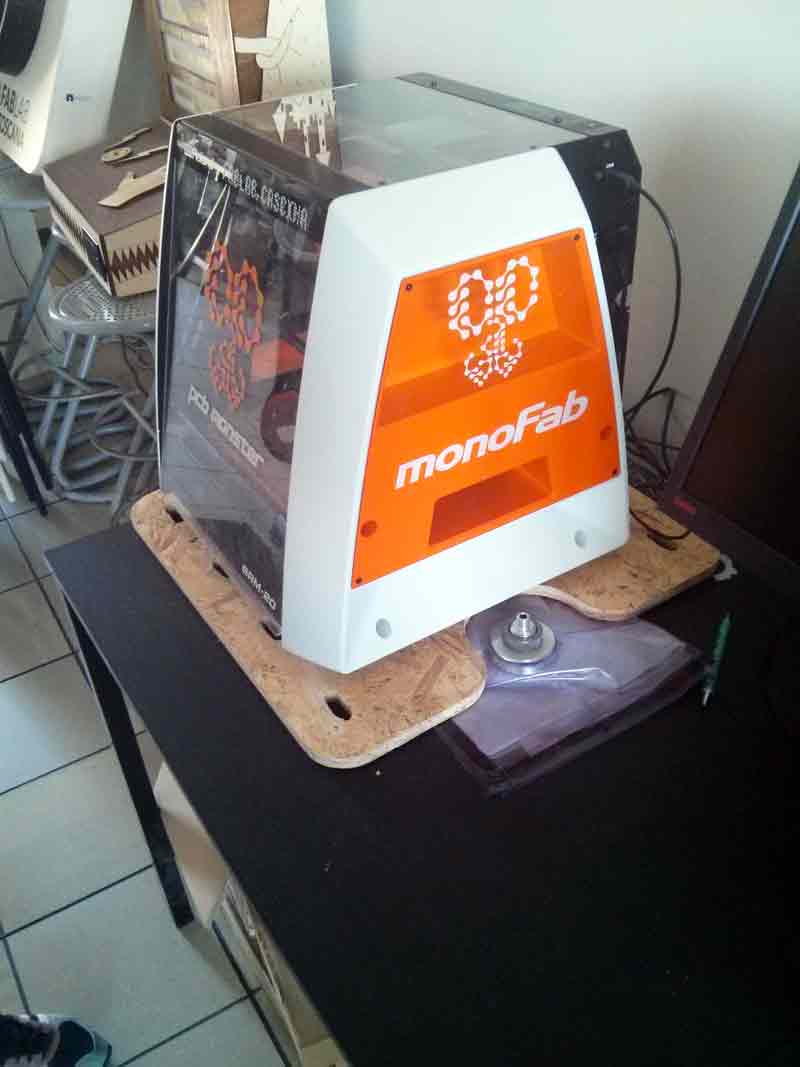
Beyond the vacuum sealing I decided to apply a weight on the bag, in order to make the layers squeeze as much as possible and to help the removal of the exceeding resin.
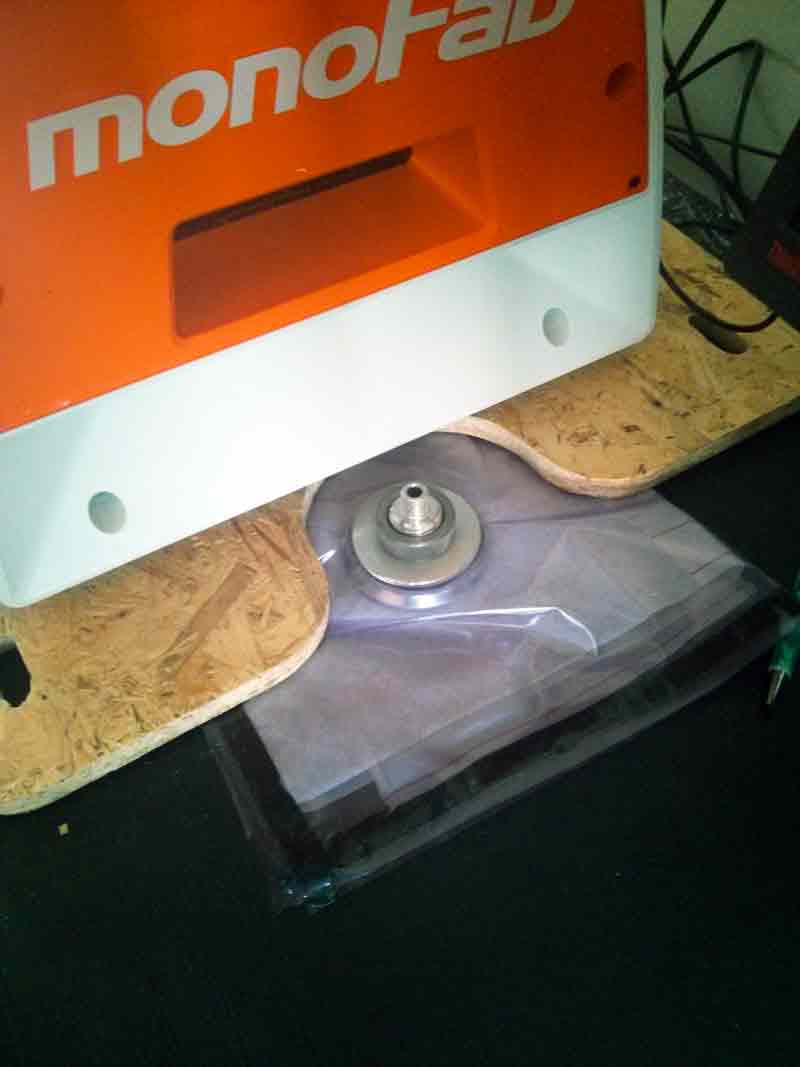
the valve is connected to the compressor, that will take the air out of the bag and create the vacuum inside it.
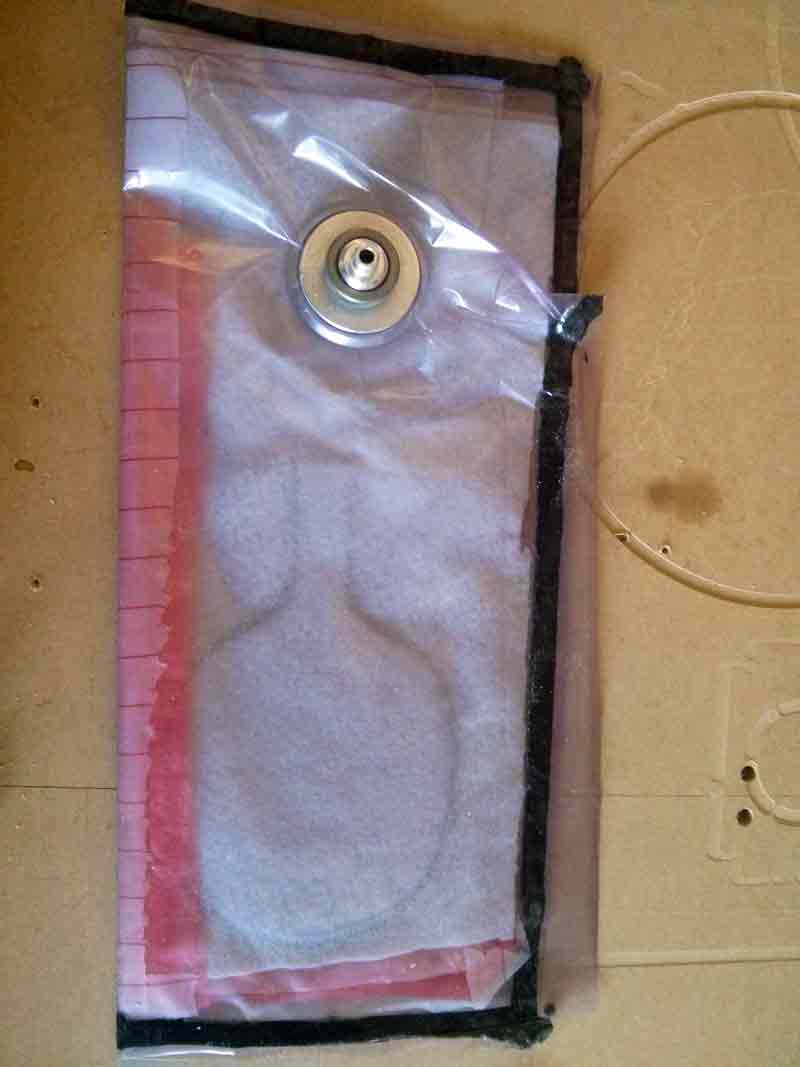
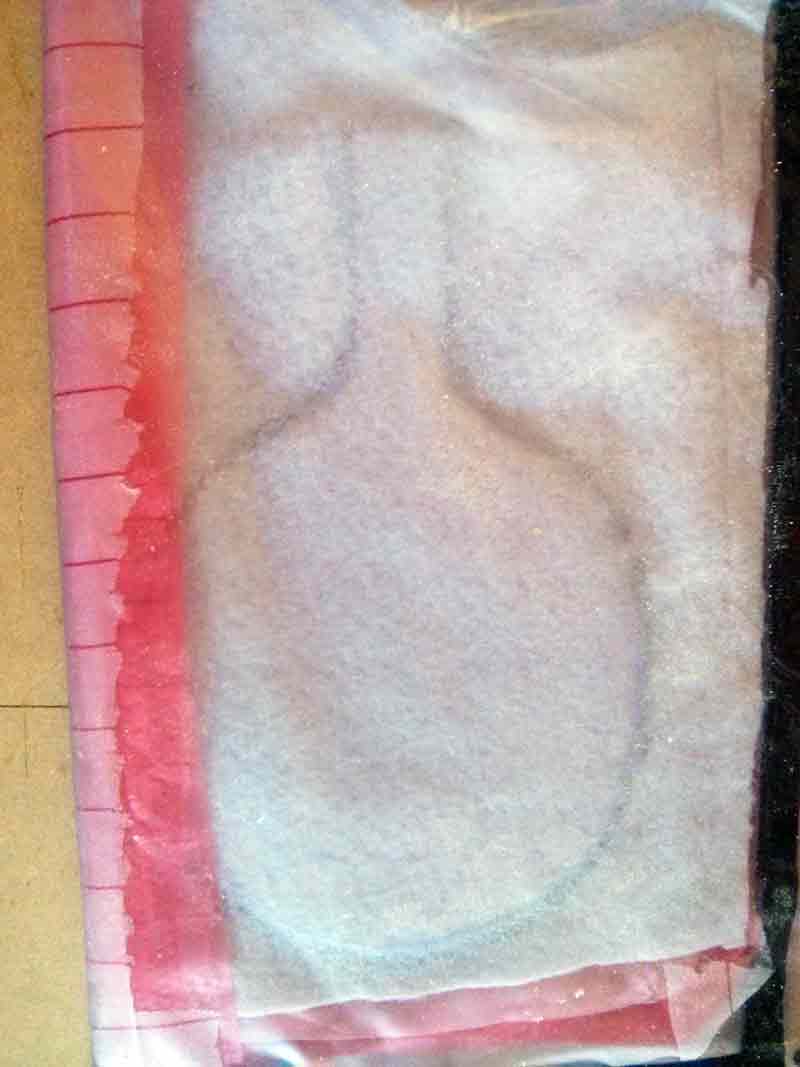
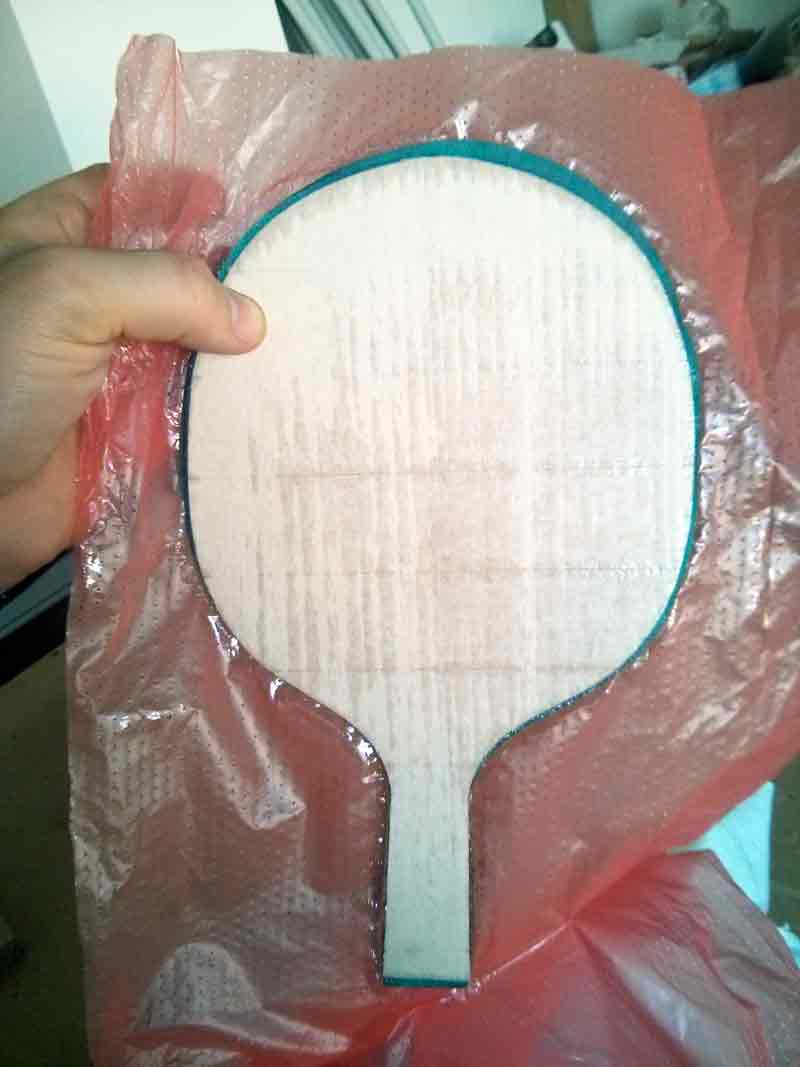
After a few hours you can remove the compressor and, as you can see in the pictures, the exceeding resin has totally gone out the paddle and has been completely absorbed by the textile put inside the bag on this purpose.
The resin wasn’t enough dried yet (after 4 hours), so I put the paddle under pression again.
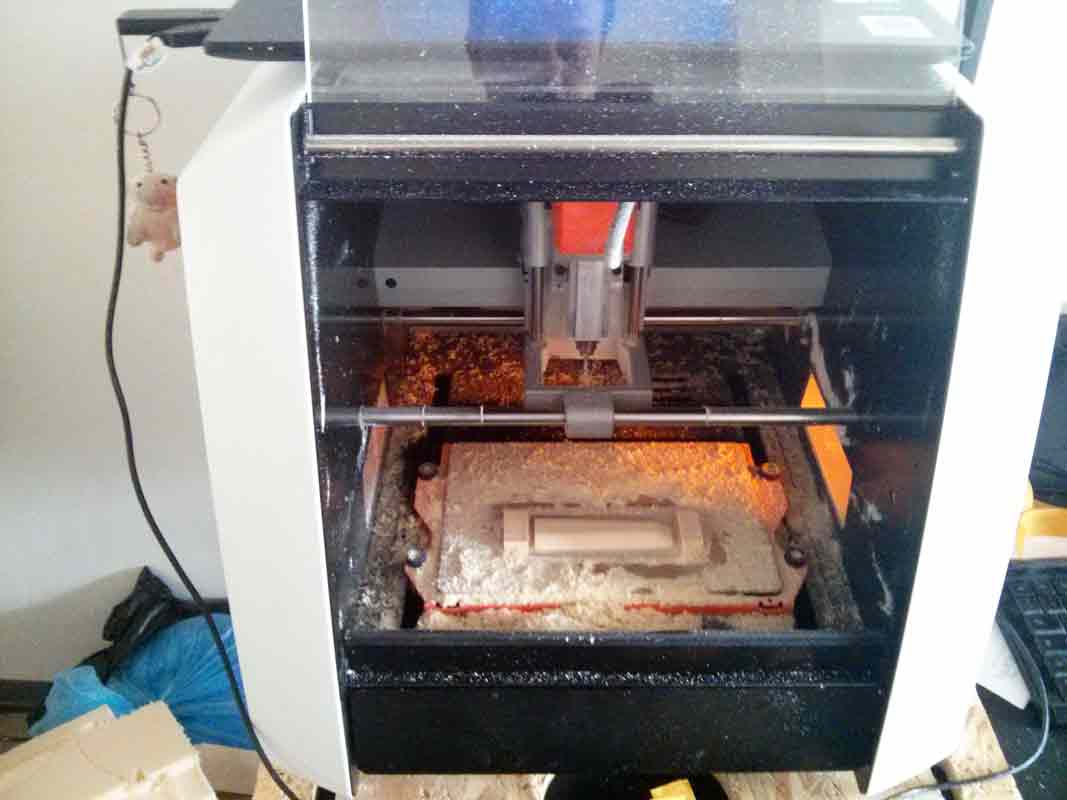
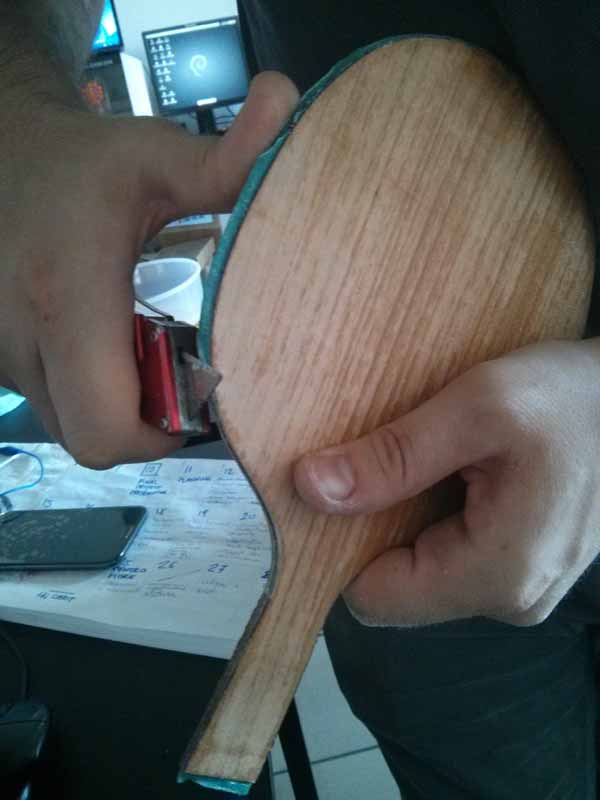
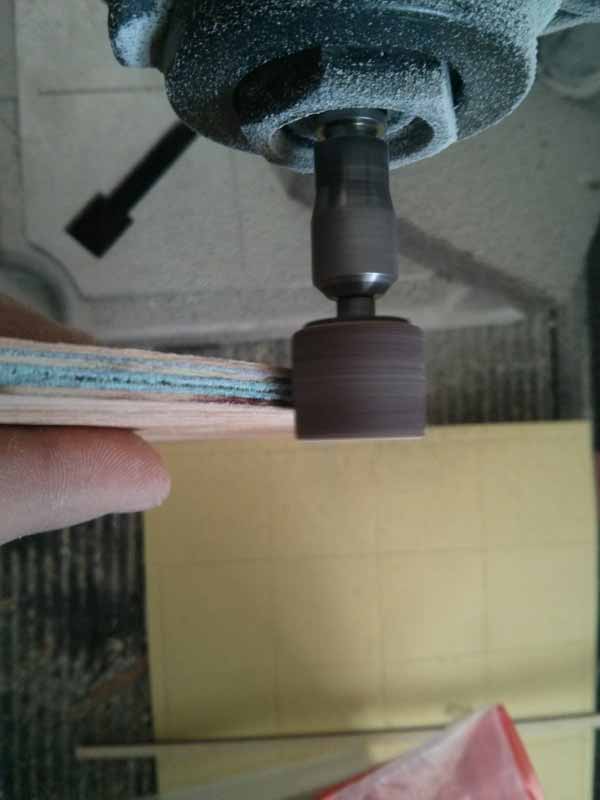
Milling the handle
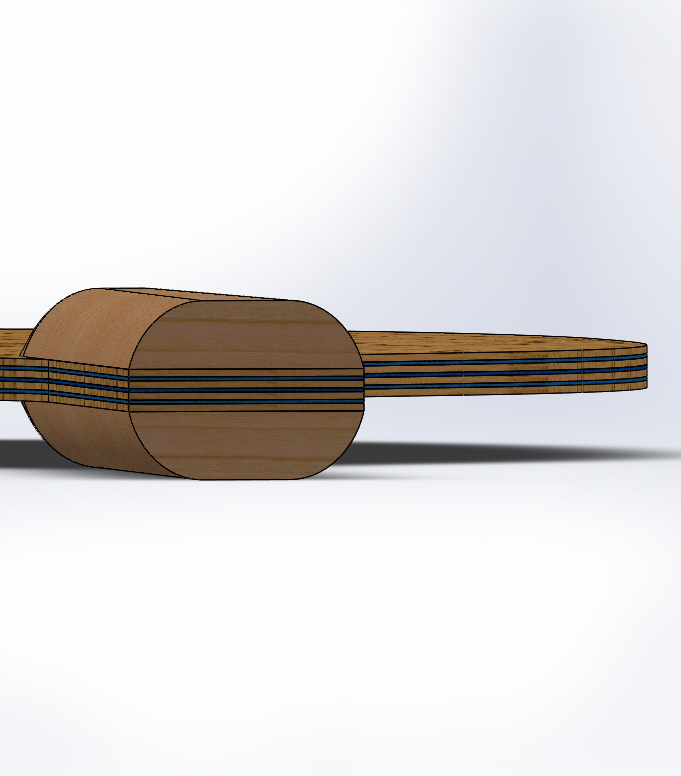
The longest and most delicate milling is the one for the curved part of the handle. It will be glued to the main body of the paddle.
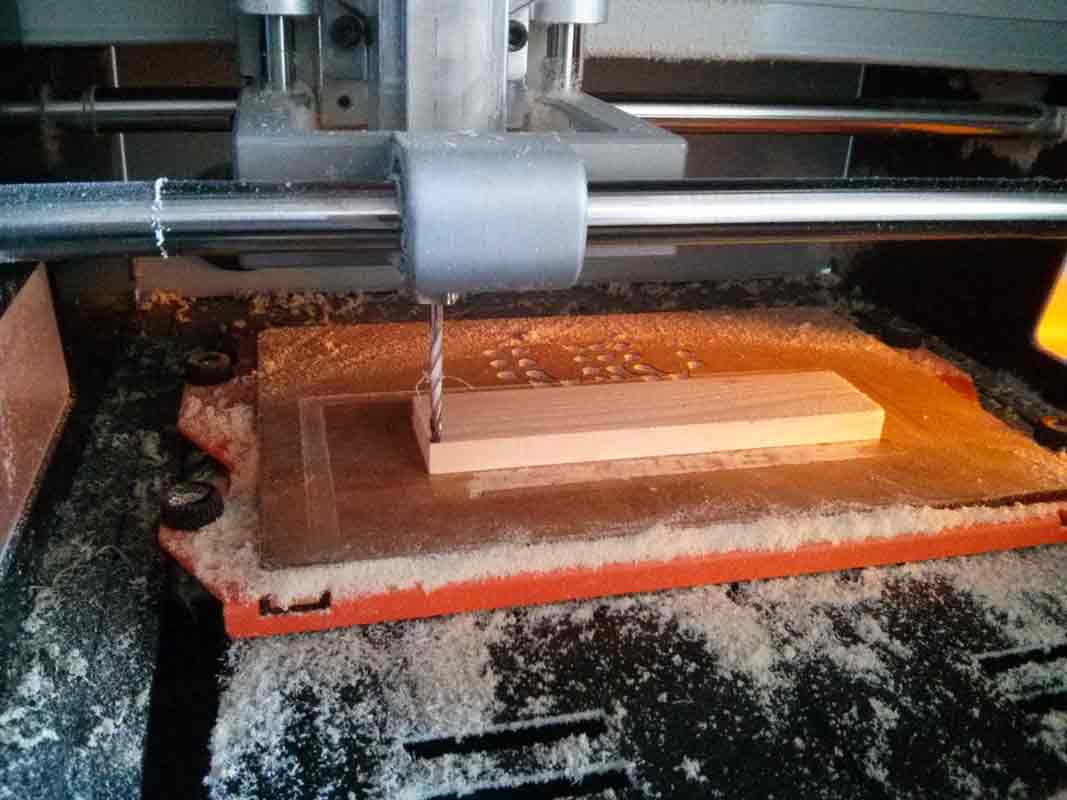
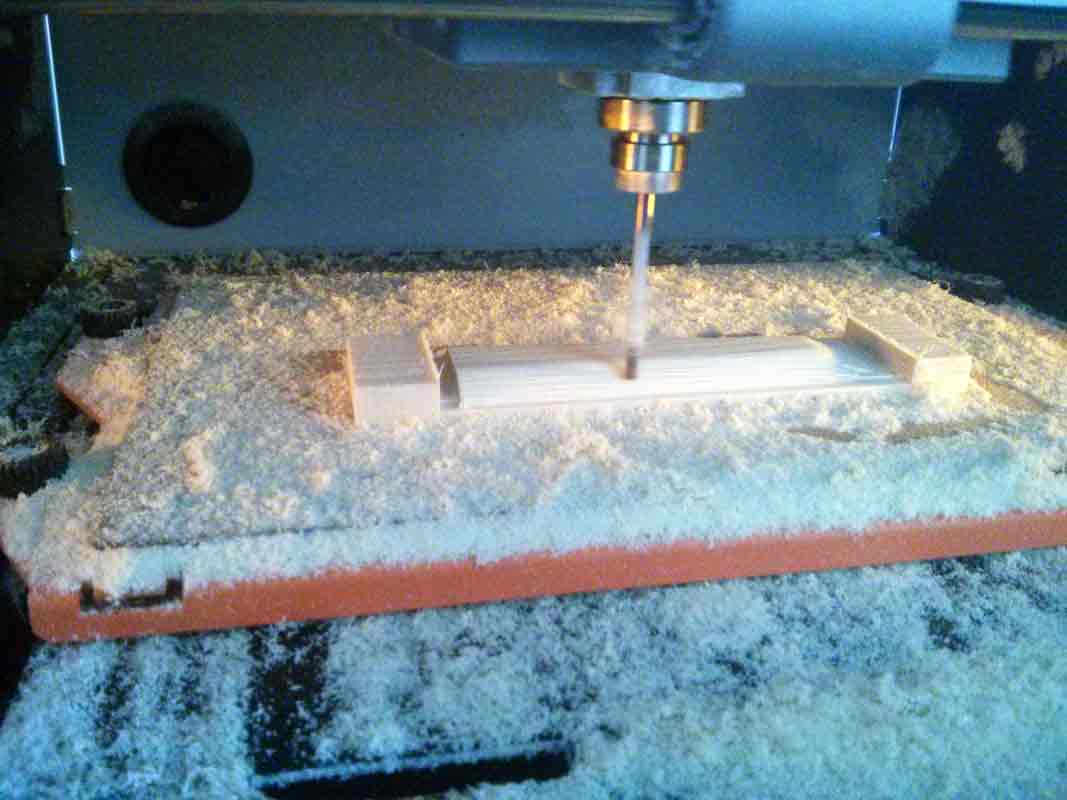
I used a 3.18 mm tip, both for the rough cut and the finishing
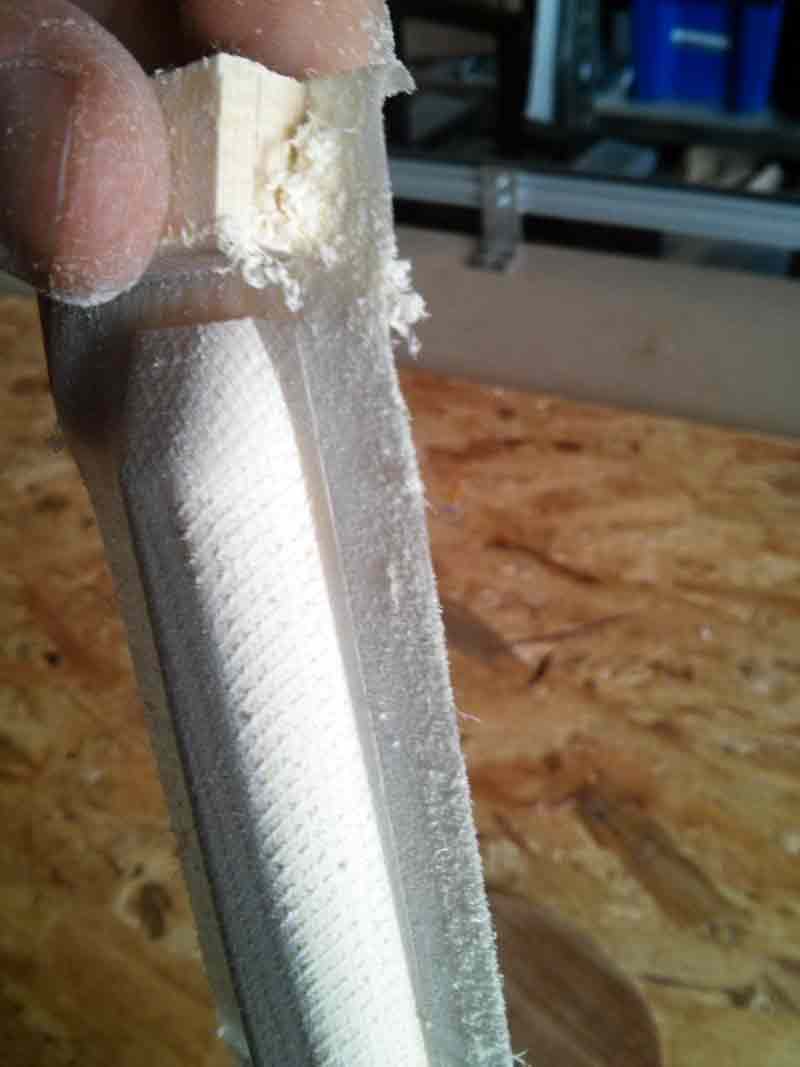
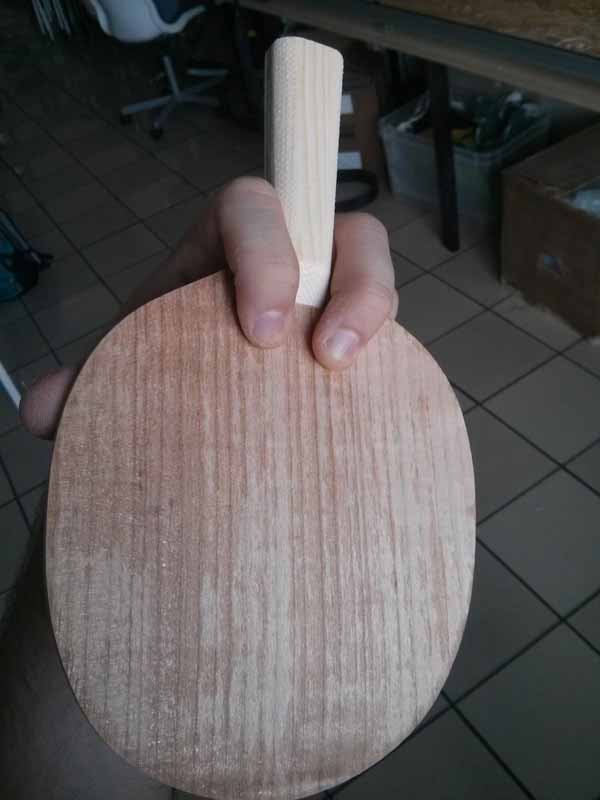
the finishing for increasing the grip on the handle is made with 45 degrees millings.
Finishing
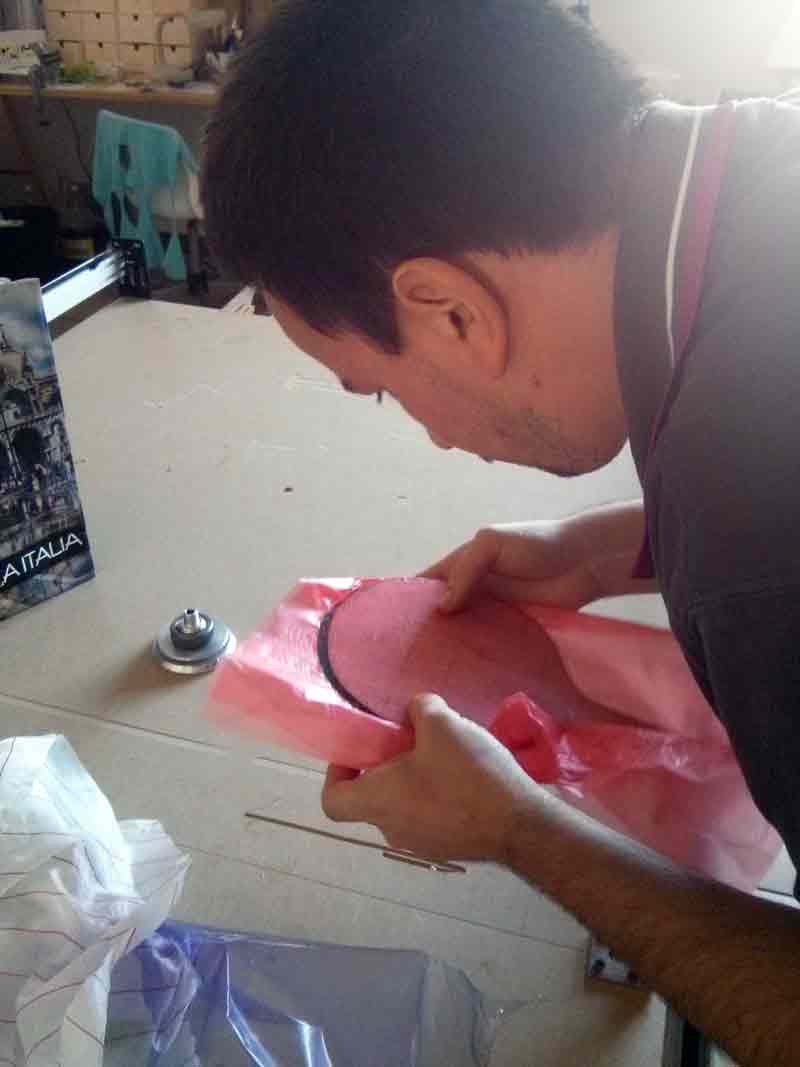
It is finally the moment to take the paddle off the press (it has been there for about 15 hours total) and starting the finishing work.
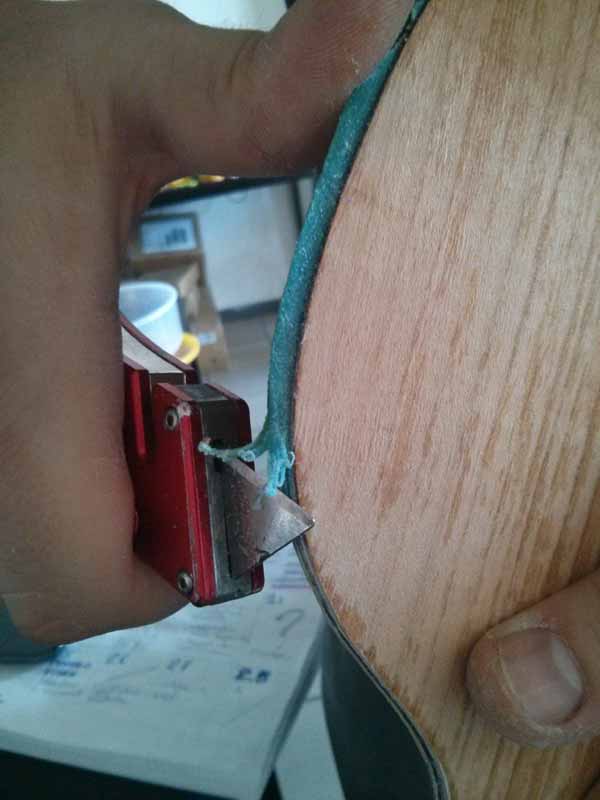
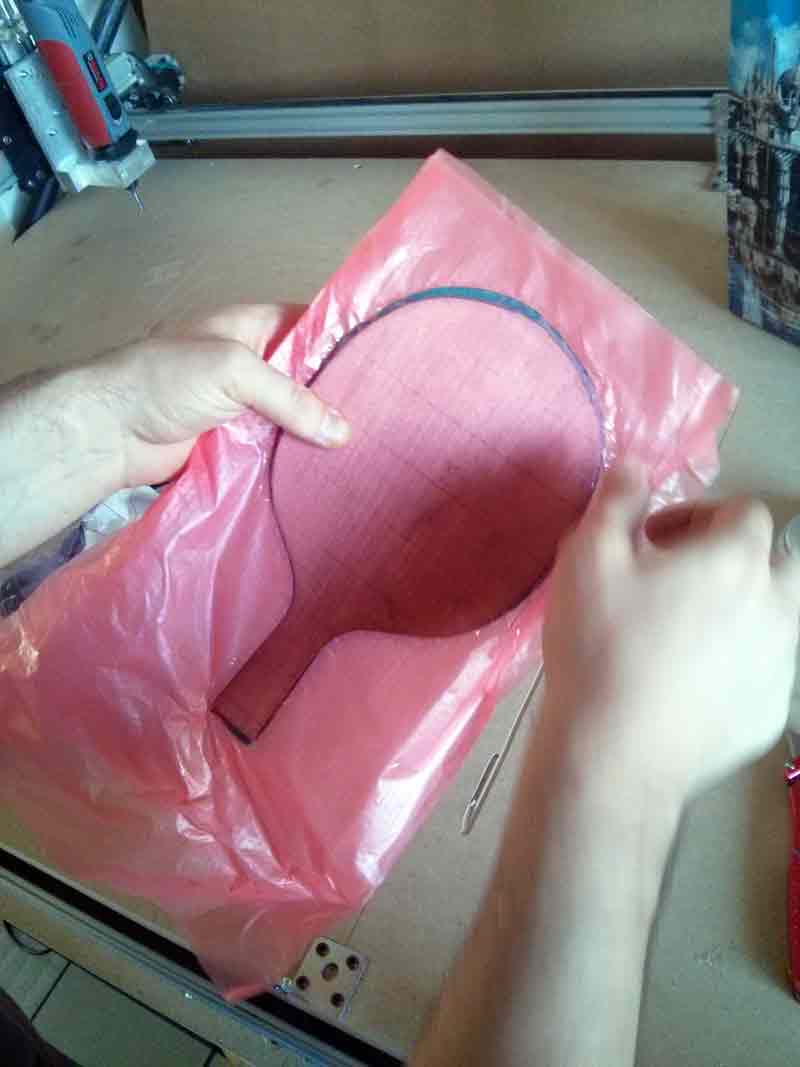
I quickly took away the exceeding cotton, trying to keep near the wood as much as I could.
I discarded the remaing part of exceeding cotton with smooth and determined moves.
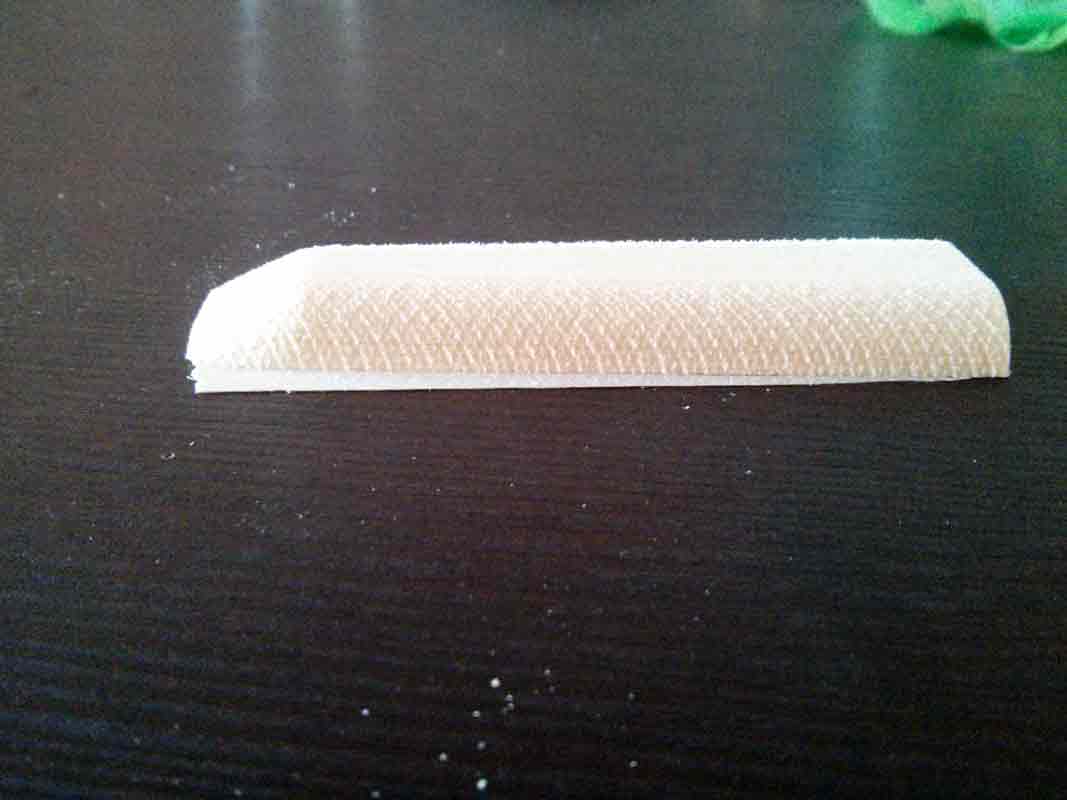
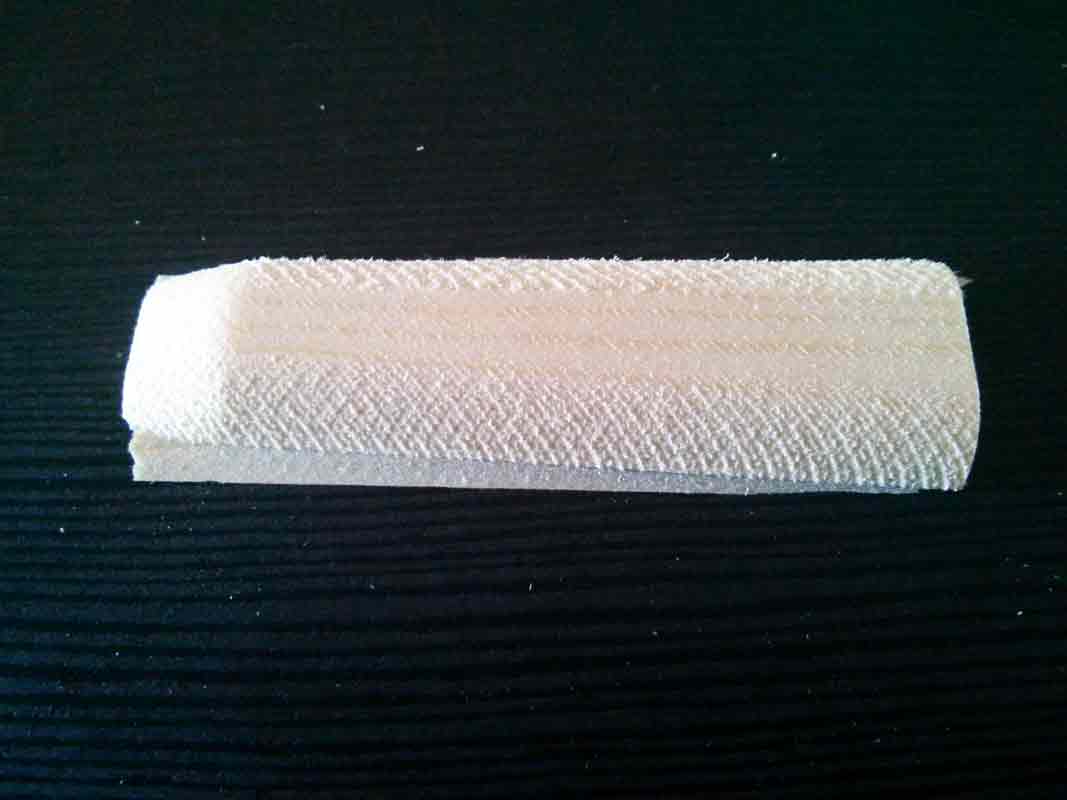
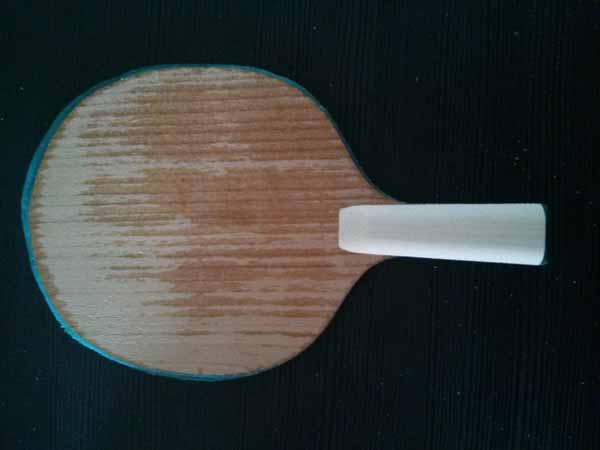
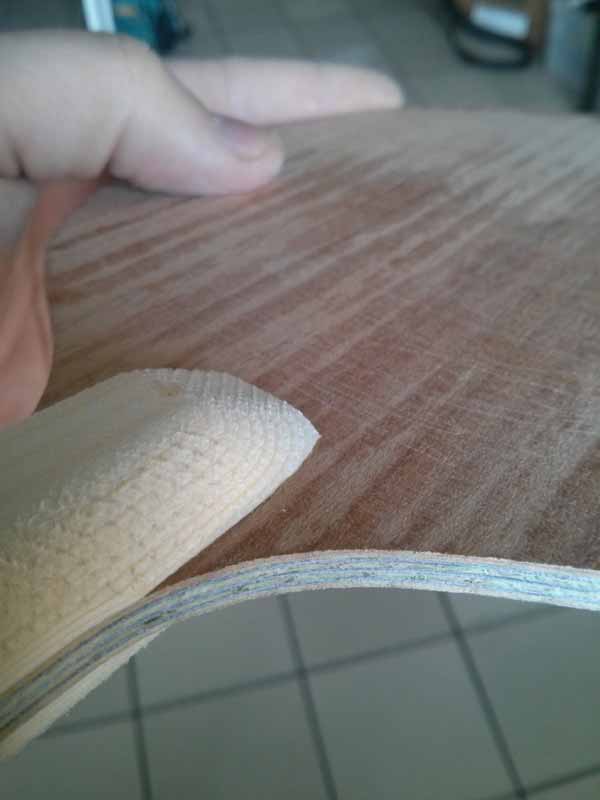
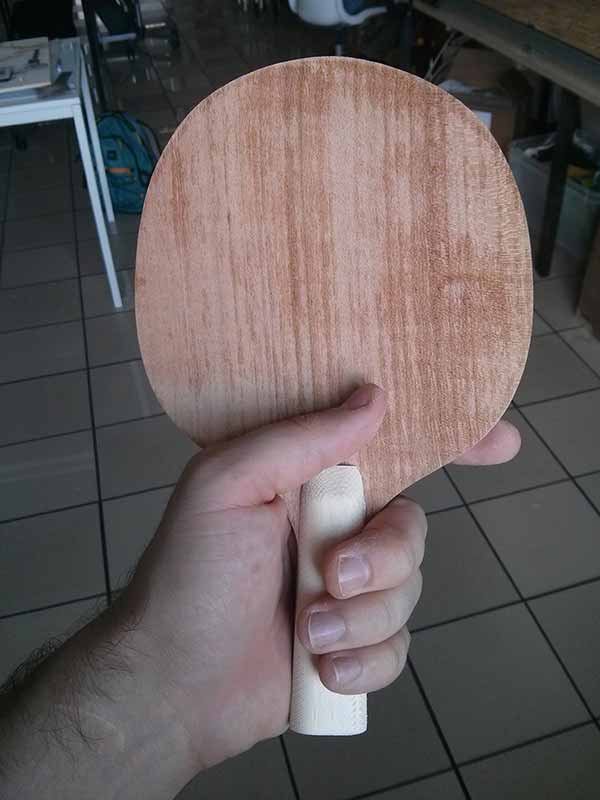
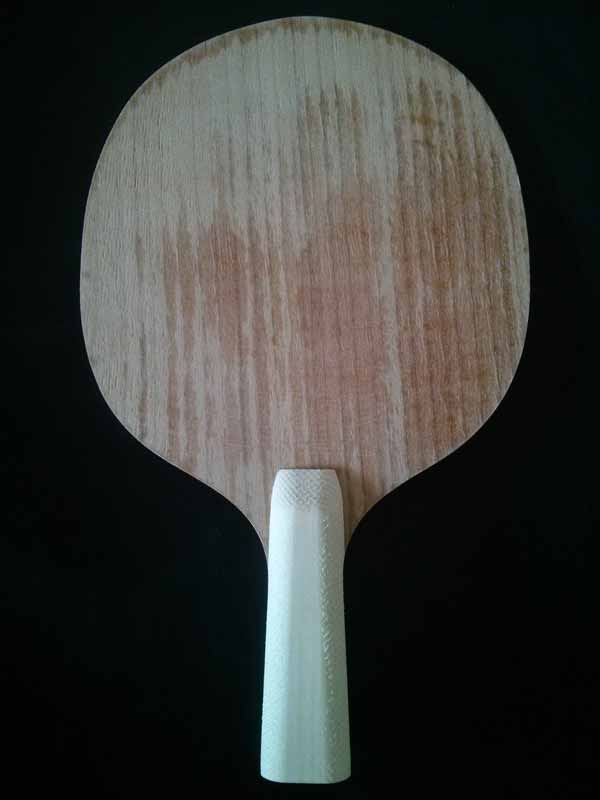
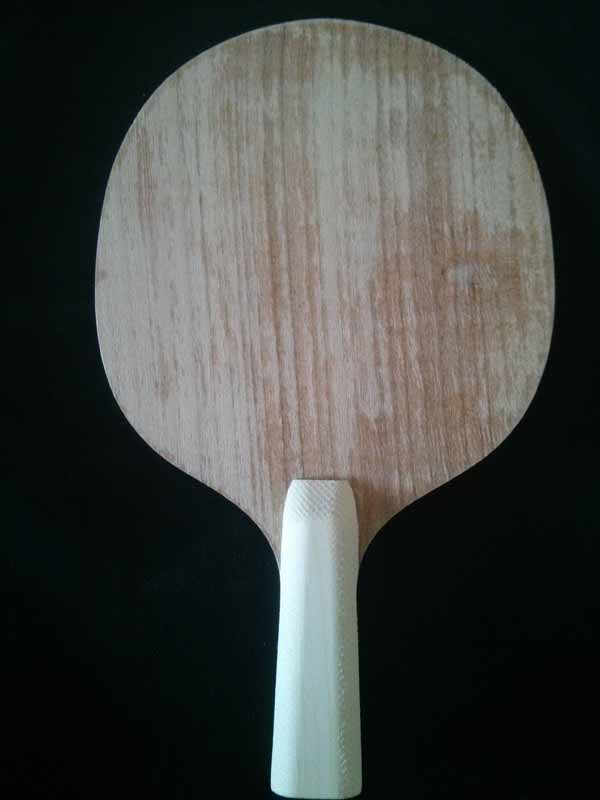
#Final result

The final result is better than I thought!
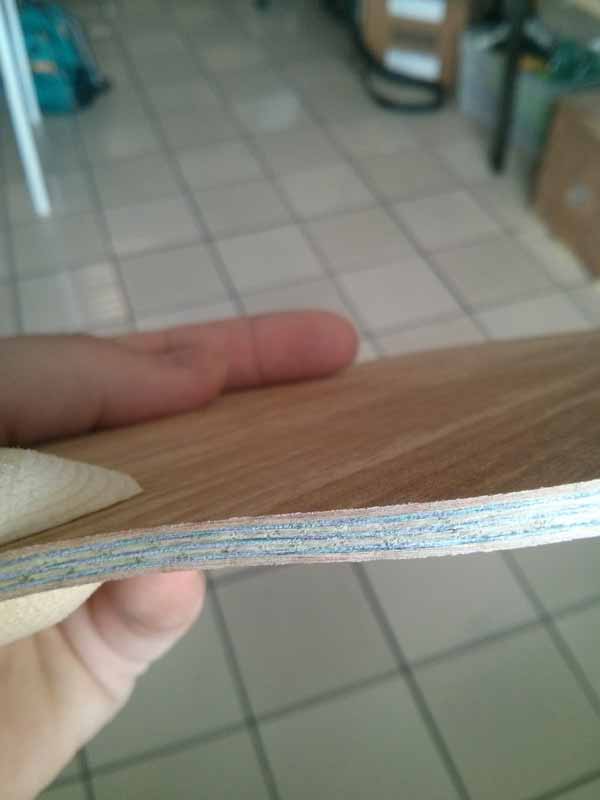
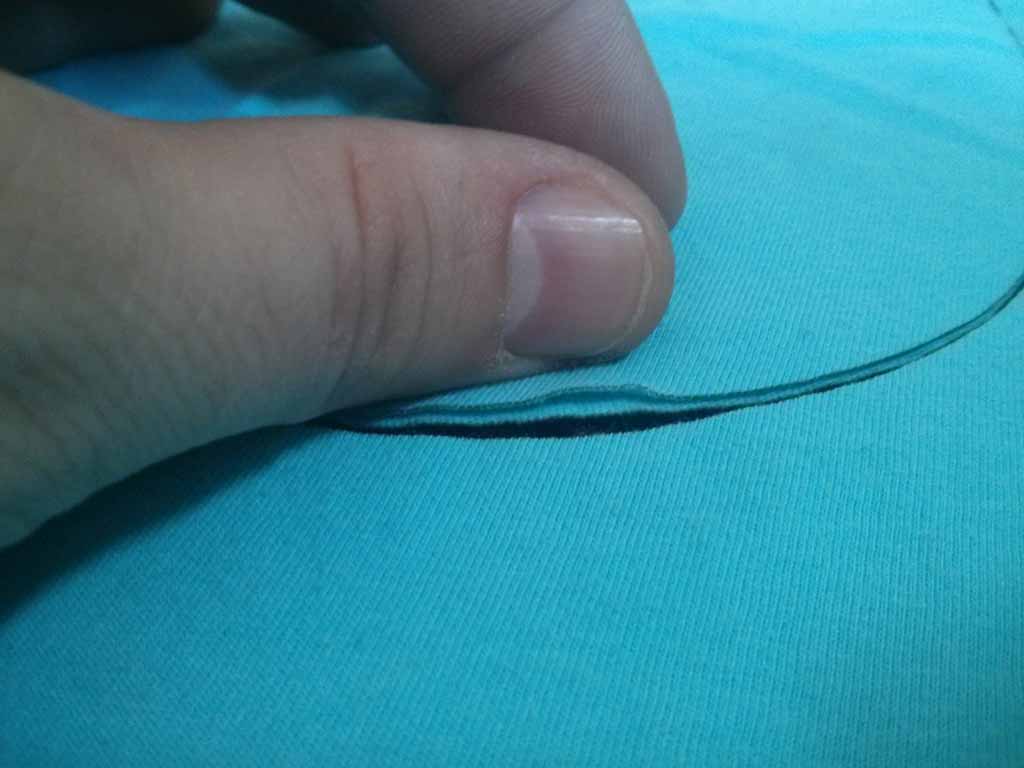
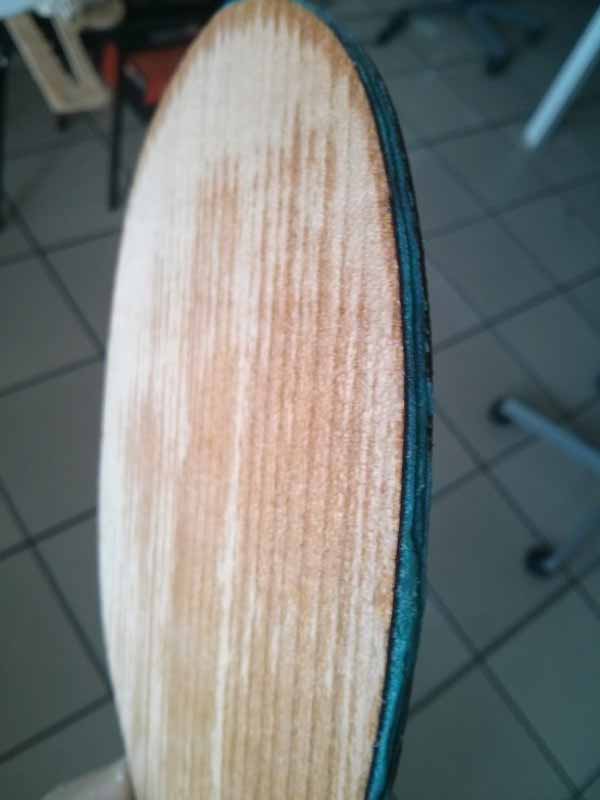
The thickness of the different layers of the paddle are identical to the expectations from the SolidWorks project, meaning that the exceeding resin has totally been absorbed by the cotton and the wood!
I am moved by its perfection! The resistance perpendicular to the handle balance the one on the vertical direction! So both the resin and the cotton did their job!
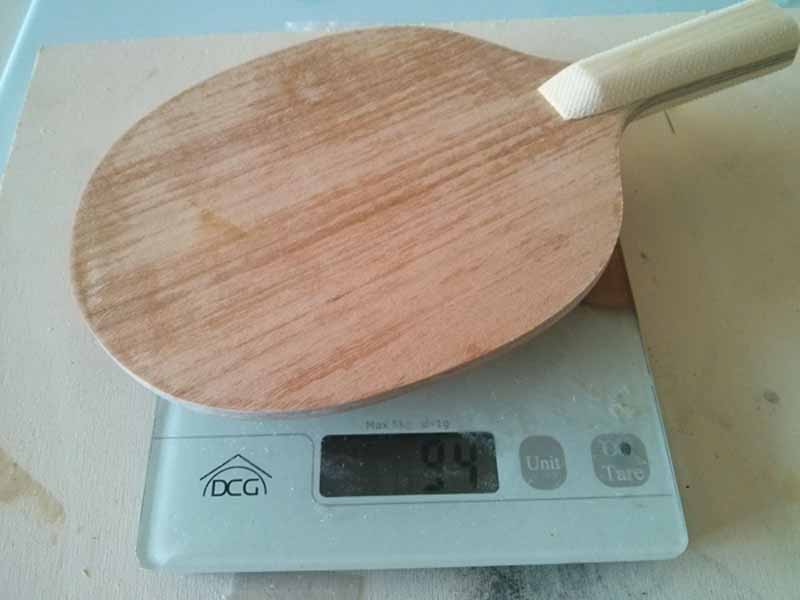
Last test: weight. Professional paddles weight between 70 and 95 grams, depending on the player (defending or attacking). Surprising even myself, the paddle weights 94 grams…perfect wight for my way of playing…always attacking!
#Conclusion
Since I was very young, I played tennis table with my father. He used to have his own paddle he made with his own hands, even if it was terrible and I was even unable to use it. I never really got over this. What a better payback than building my own paddle?
I wonder if my paddle suits the official rules of the International Tennis Table Federation (ITTS) or if it can be used in a regular championship…or in a match at my place?
#Source File
###design project
###Lasercut
###Milling
using roland control panel